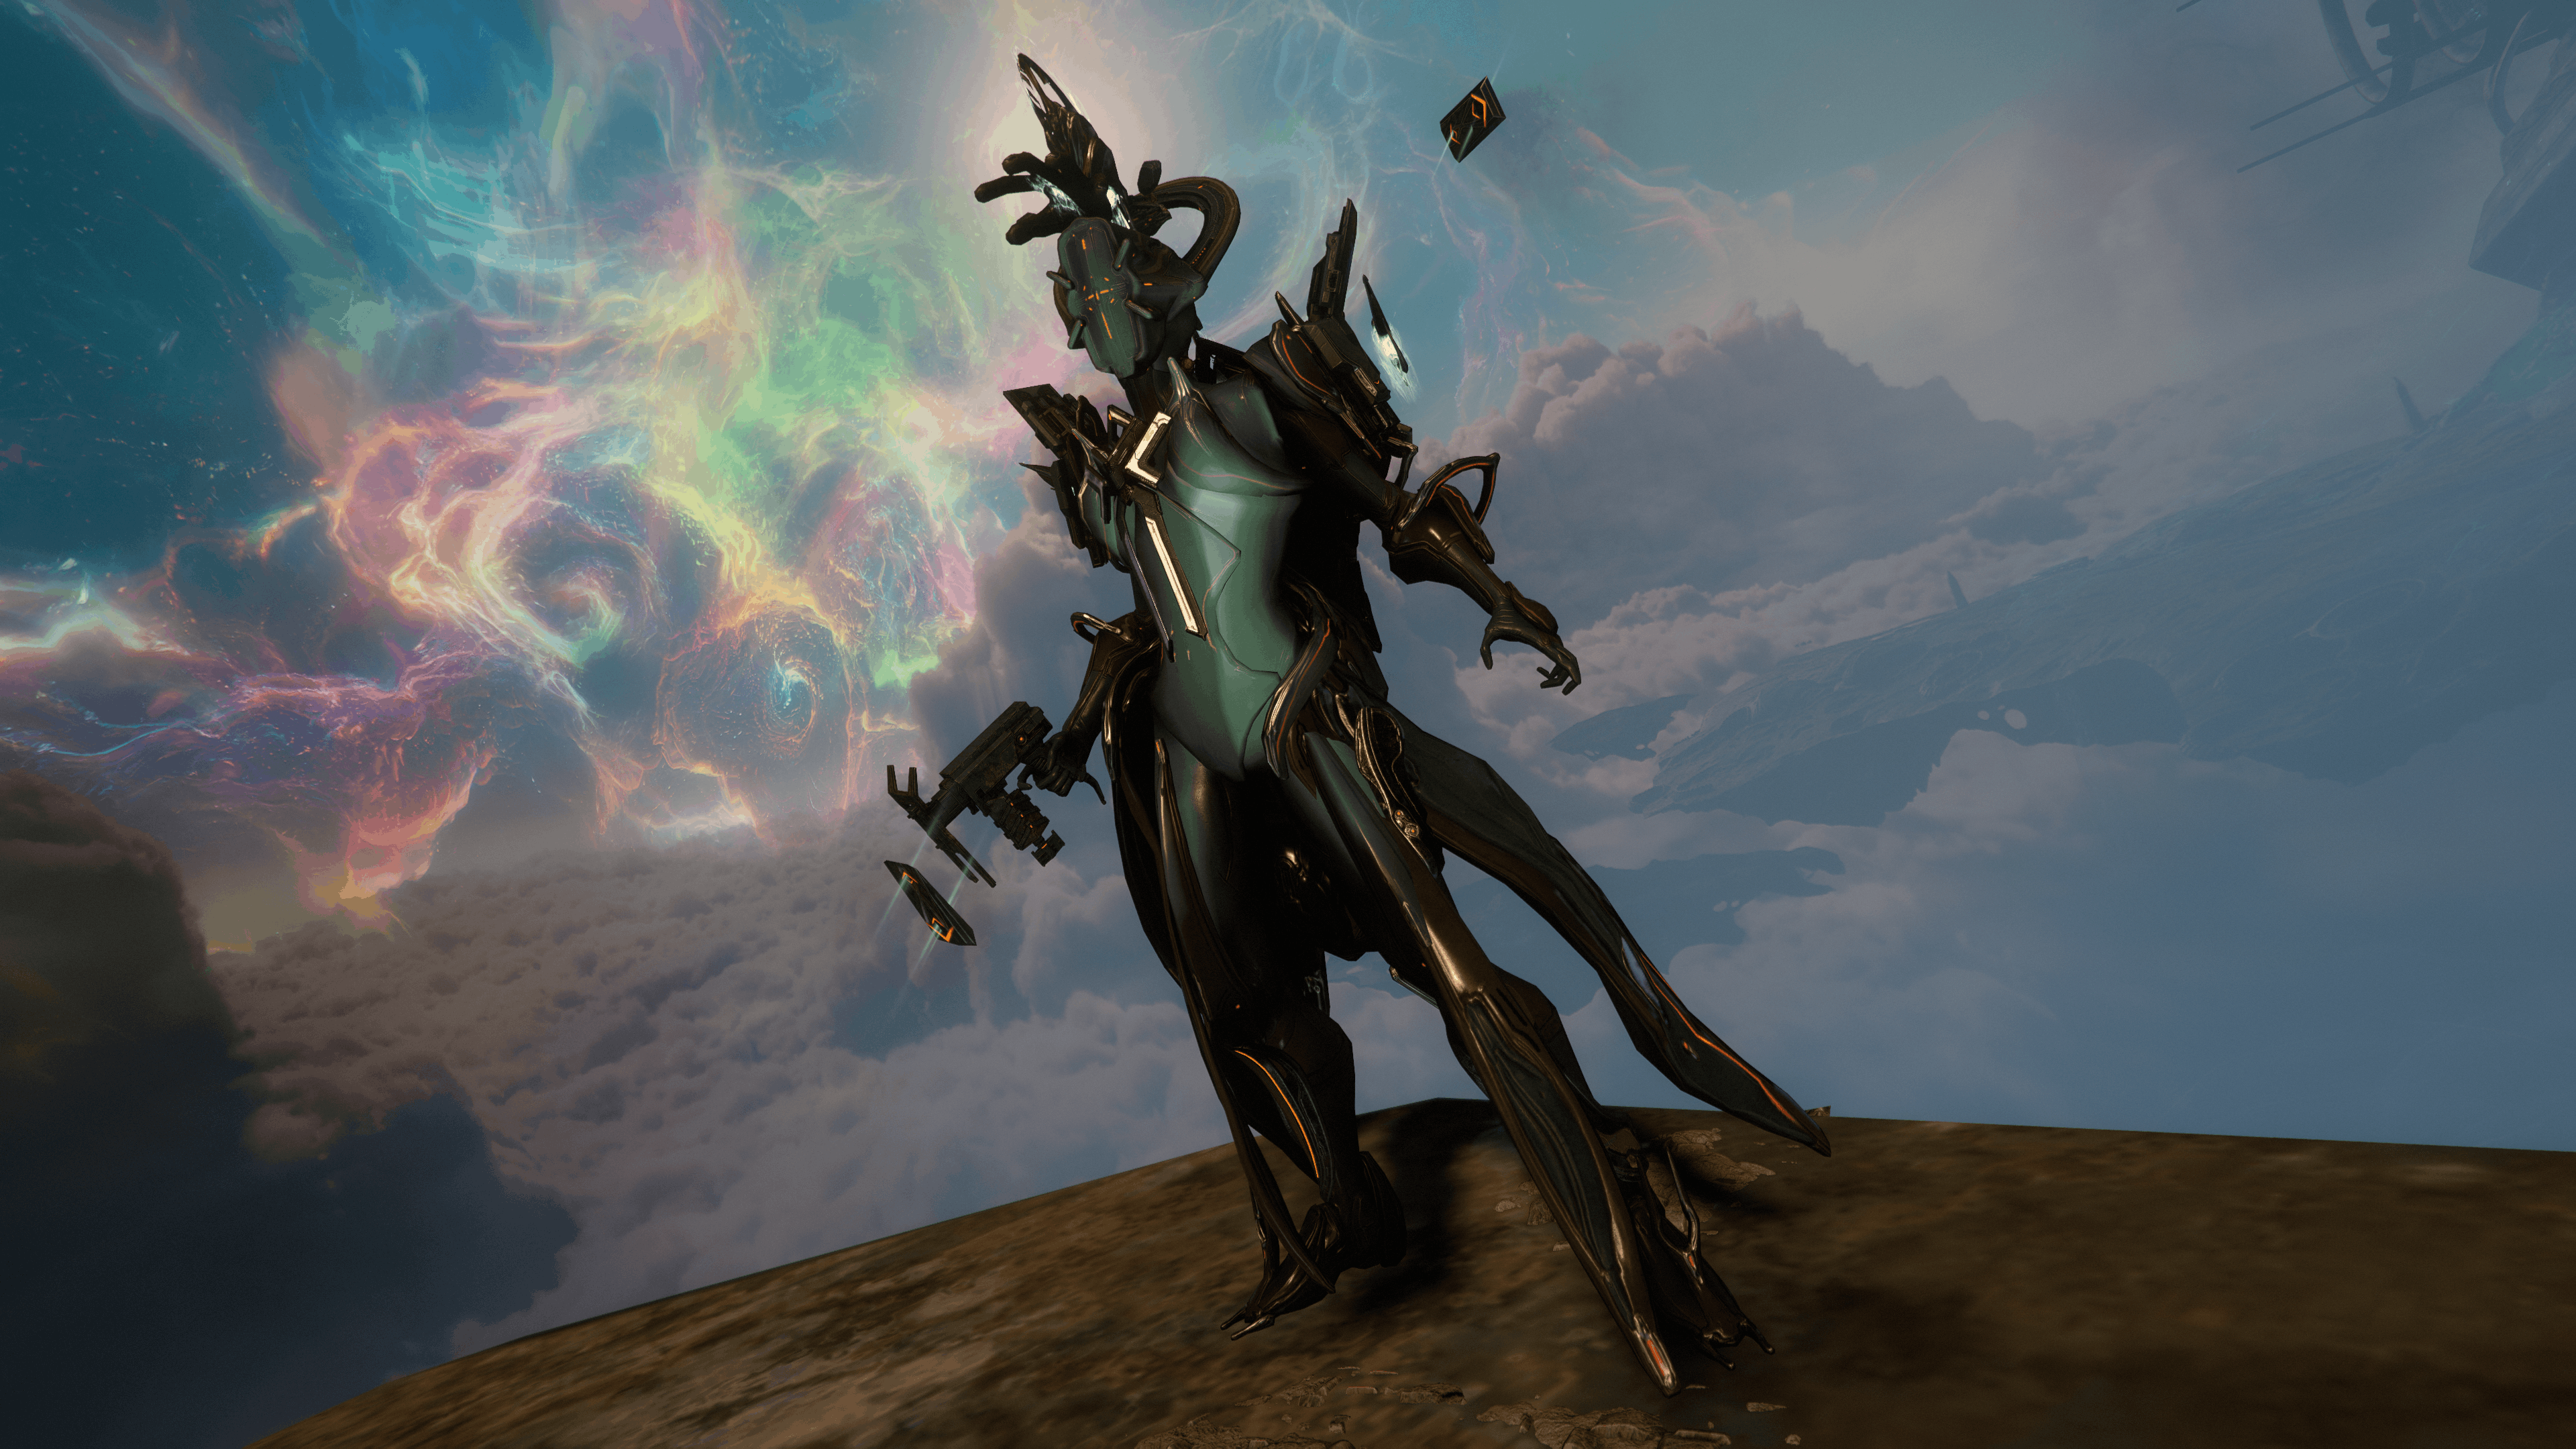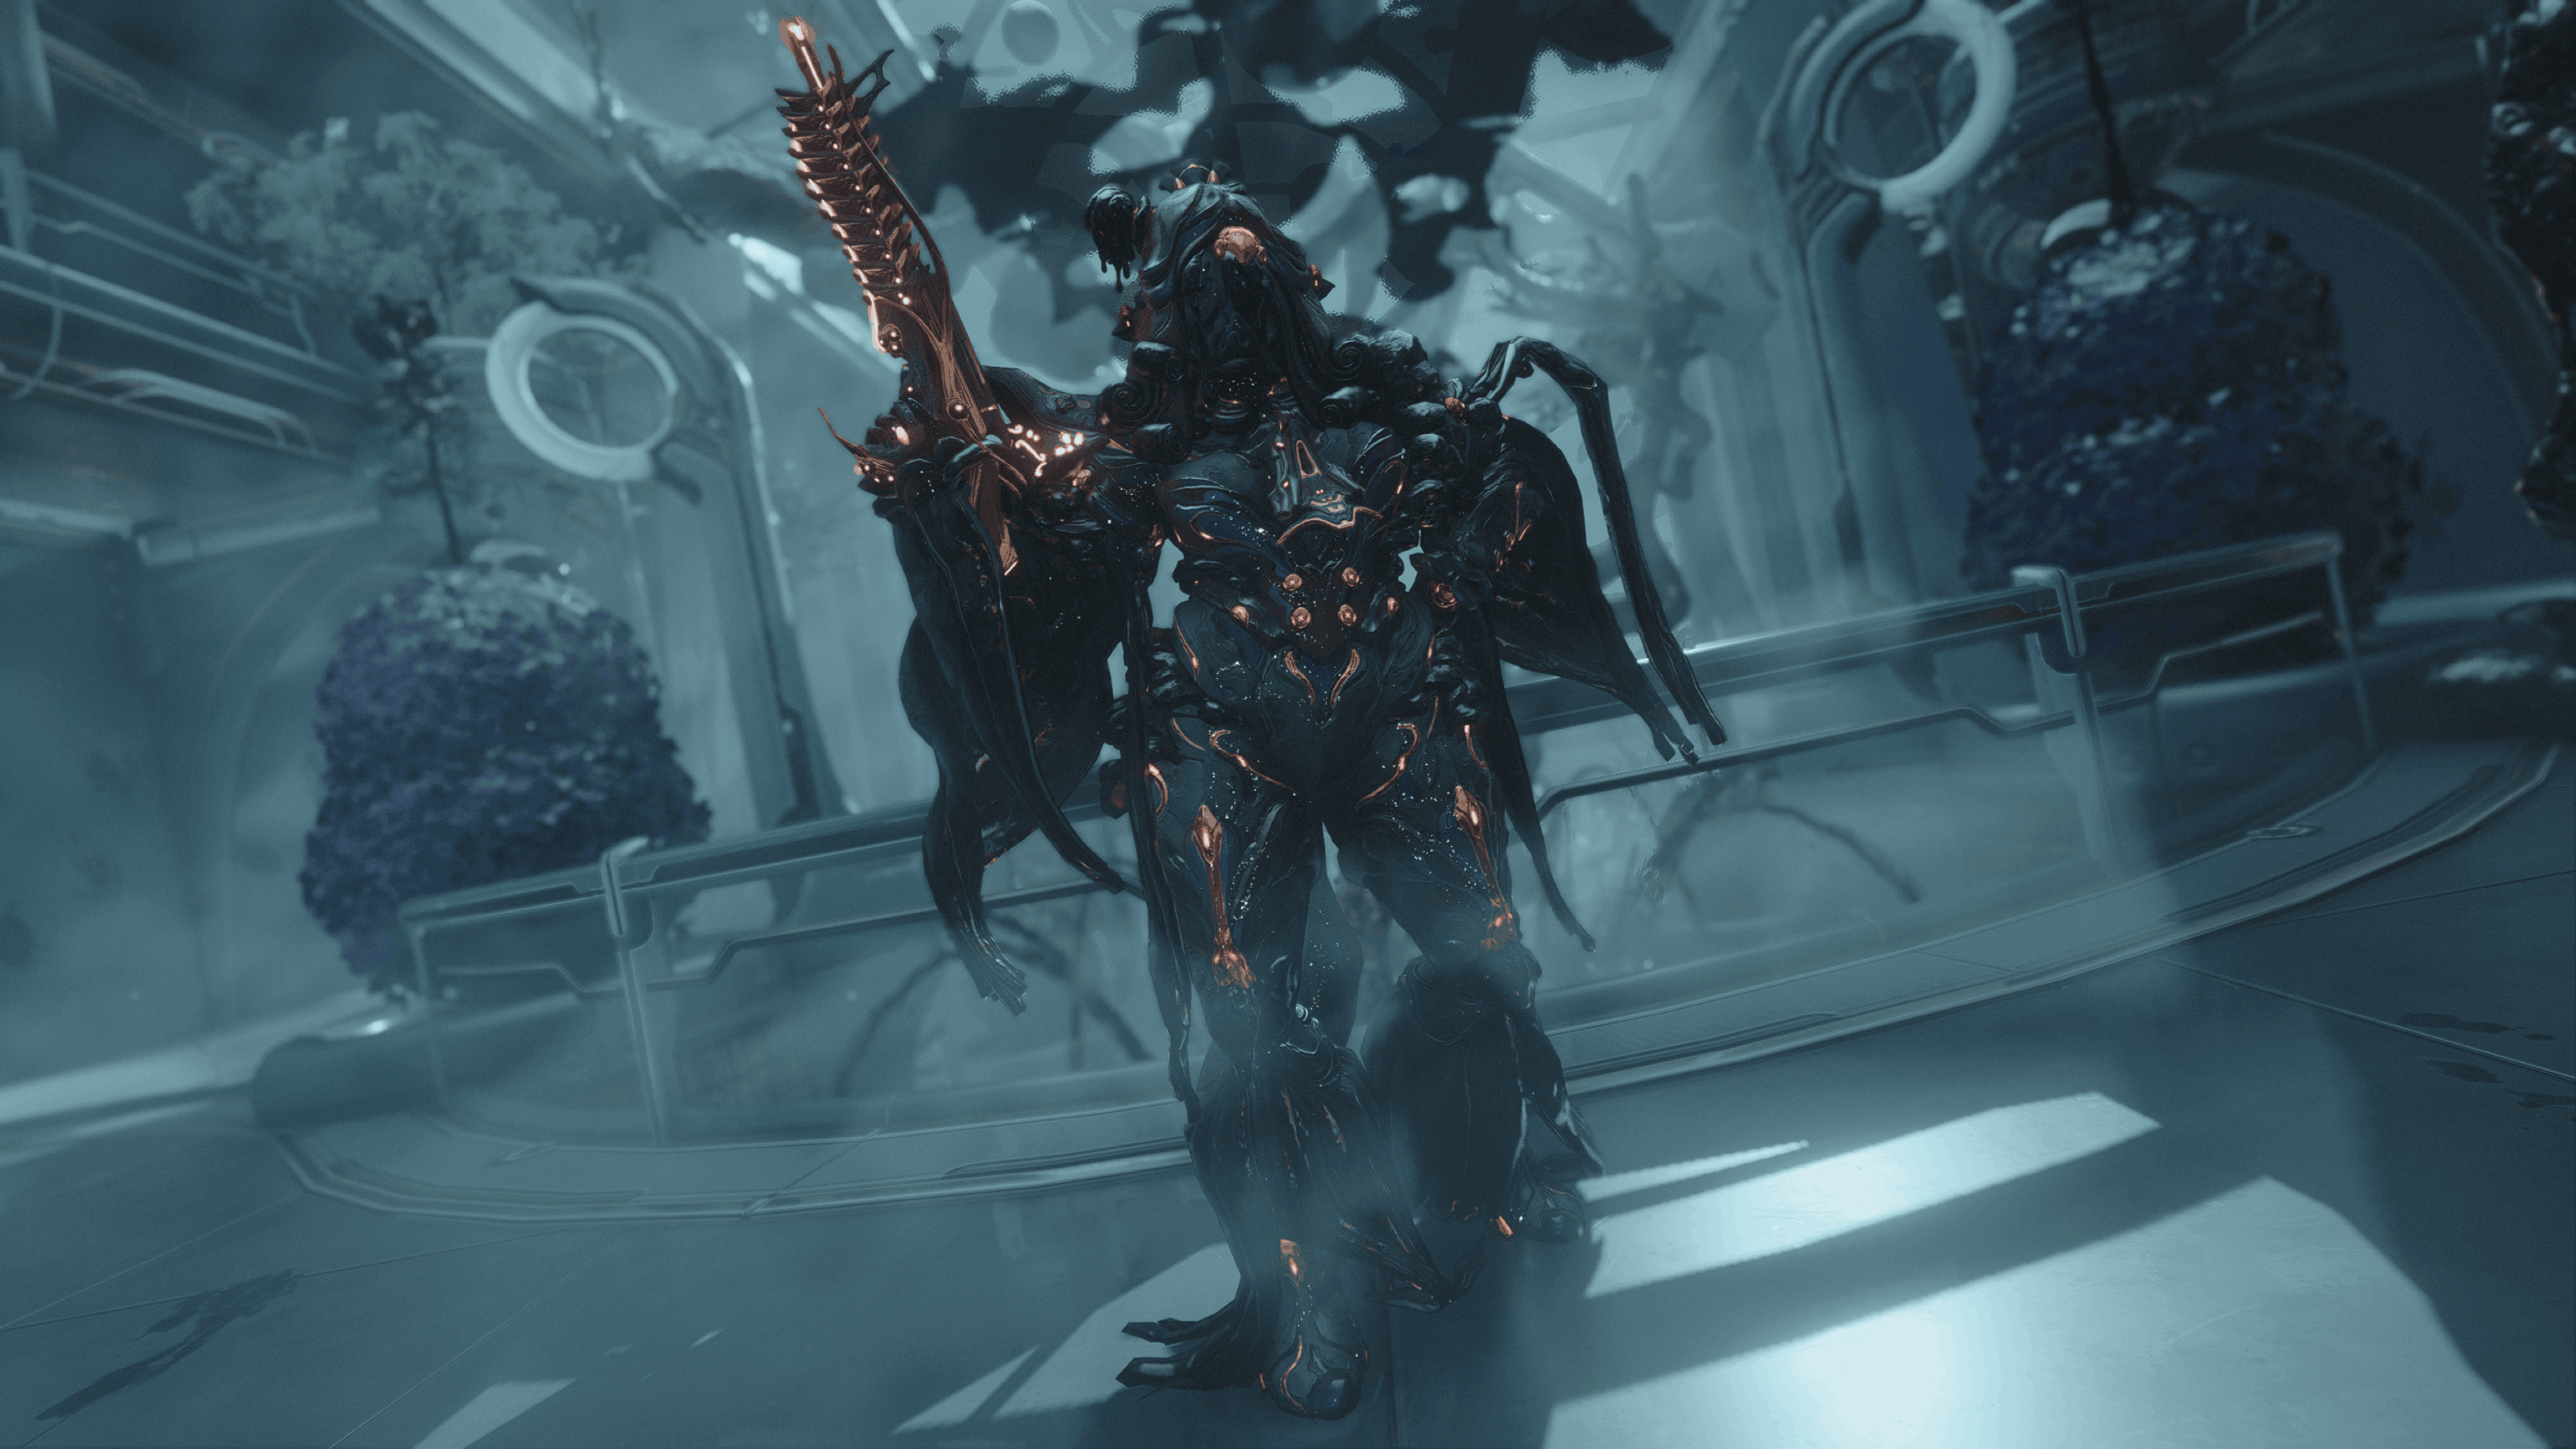
While the operation in which she was introduced received somewhat mixed reviews, Follie herself is quite fun to play, if not somewhat complex. Still, I find a bit of complexity to be a welcome addition to Warframe, a game where certain frames need only spam 1-2 abilities to clear entire rooms. Follie’s Shadowgraph ability in particular, which lets you summon any of the fourteen objects from her sketchbook, provides you with the tools to tackle almost any situation.
Follie Build Guide
In this guide, I’ll show you how to build Follie to take advantage of the plethora of tools at her disposal. She already shines as a support frame, but with the right investment, she can become deadly in her own right. This build has been stress-tested in both Arbitrations and Steel Path, and clears both with relative ease. You’ll need two Forma to follow this build to the letter.
What To Mod For

This build revolves around Follie’s ability to inflict many different status effects—up to 9 without any subsumed abilities added to the mix—making Arcane Impetus a great choice with its +6% ability strength and +3% ability efficiency per unique status effects from abilities. The added efficiency helps offset the efficiency loss from Blind Rage, whose massive +90% ability strength helps maximize the damage reduction from Follie’s Self-Portrait ability and the defense reduction that Plein Air inflicts on foes (which max out at 180 and 200% ability strength, respectively), in addition to supplementing the damage her abilities deal on cast and expiration. Molt Augmented further increases your potential damage, up to 60% more ability strength at max stacks, but it could easily be swapped for something like Arcane Energize if you’re satisfied with your strength and would rather maximize your energy economy beyond just the increased energy capacity provided by Primed Flow.
For aura mods, Brief Respite is a good choice given Follie’s low shield capacity. When paired with two Augur mods, 230% of the energy spent on abilities will be converted to shields, causing a single cast of Plein Air and any other ability to fully restore your shields from empty thanks to the increased energy cost from Blind Rage. Beyond that, you’ll mainly want to build Follie for range and duration. Increased range ensures your abilities are inflicting statuses on as many enemies as possible, including Follie’s unique inkblot status, which grants slain enemies a 20% chance to drop health and energy orbs when affected. Given that Shadowgraph abilities aren’t affected by range increases (aside from the innate corrosive damage on cast and expiration), using Overextended as I have might be a little overkill, but coating entire rooms in ink to slow down foes and weaken their defenses is quite satisfying. Meanwhile, duration helps keep your Shadowgraph summons active while you cycle through them, making Primed Continuity a solid choice to allow you to stack their effects and control the battlefield.
Beyond The Mods
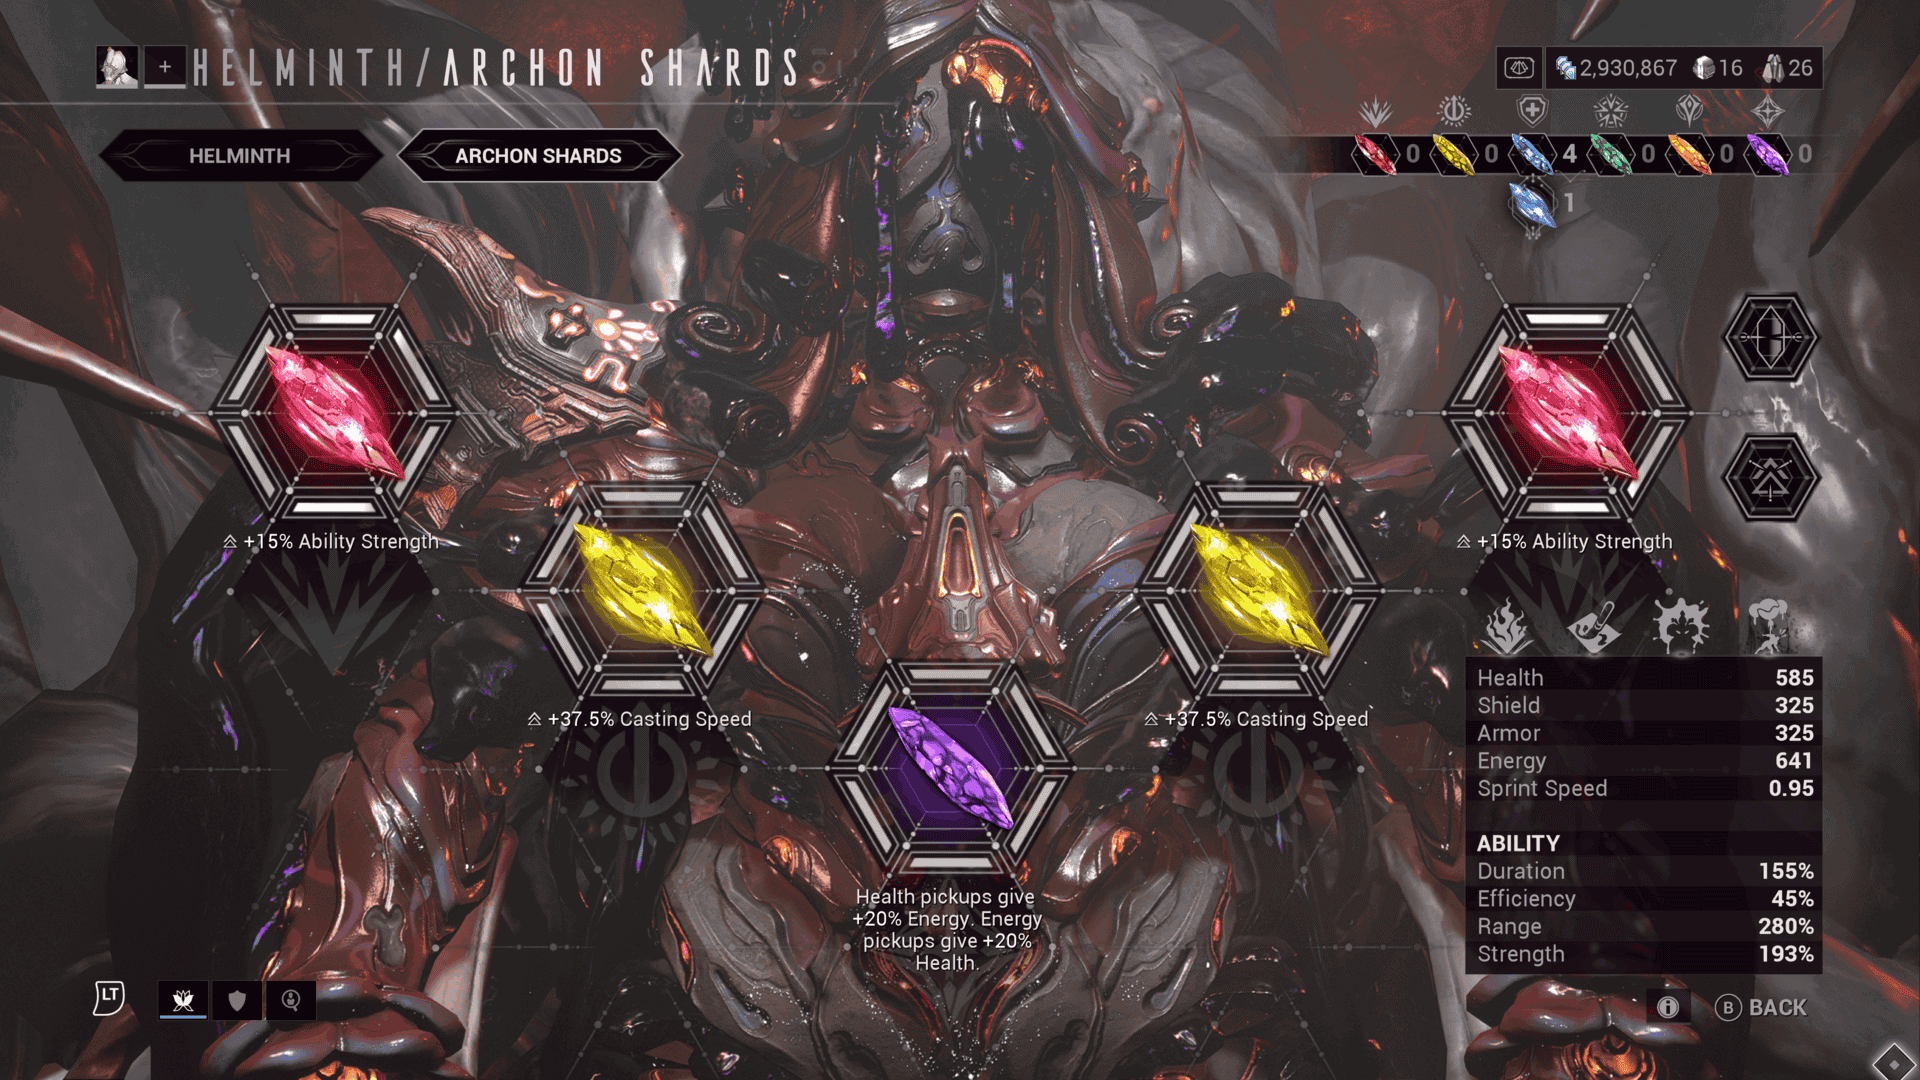
As far as Archon Shards go, Follie’s main needs are going to be energy gain and casting speed. A single Violet Shard with the Equilibrium effect supplements the health and energy orbs generated from her passive, helping keep both resources topped off. Two Amber Shards slotted for increased casting speed make Follie’s Shadowgraph rotation more manageable, reducing downtime between casts and maximizing how many summons you can have out before they expire. The remaining two slots are somewhat flexible, but I went with increased ability strength from two Crimson Shards to maximize Follie’s damage and defense reduction, even before triggering arcane effects mid-mission, but there are plenty of other Archon Shard effects that could take advantage of the many statuses Follie can inflict.
While Follie’s first ability is fine, since teleportation and brief invulnerability are nice utility options to have, you can easily subsume over Forced Perspective without losing much build synergy. Ideally, you’ll choose something with a unique status effect that Follie doesn’t already have, which is why I went with Dante’s Dark Verse ability. Beyond inflicting slash status, it’s also a great way to pop Plein Air’s balloons to send enemies crashing down, and the ease with which it applies slash is a reliable way to keep your Arcane Impetus stacks from expiring without bothering with Shadowgraph’s radial wheel or Plein Air’s high energy cost. It also means you’ll cap out at 10 Impetus stacks instead of 9, rounding the increased strength and efficiency to a nice, round number (60 and 30%).
The Gameplay Loop
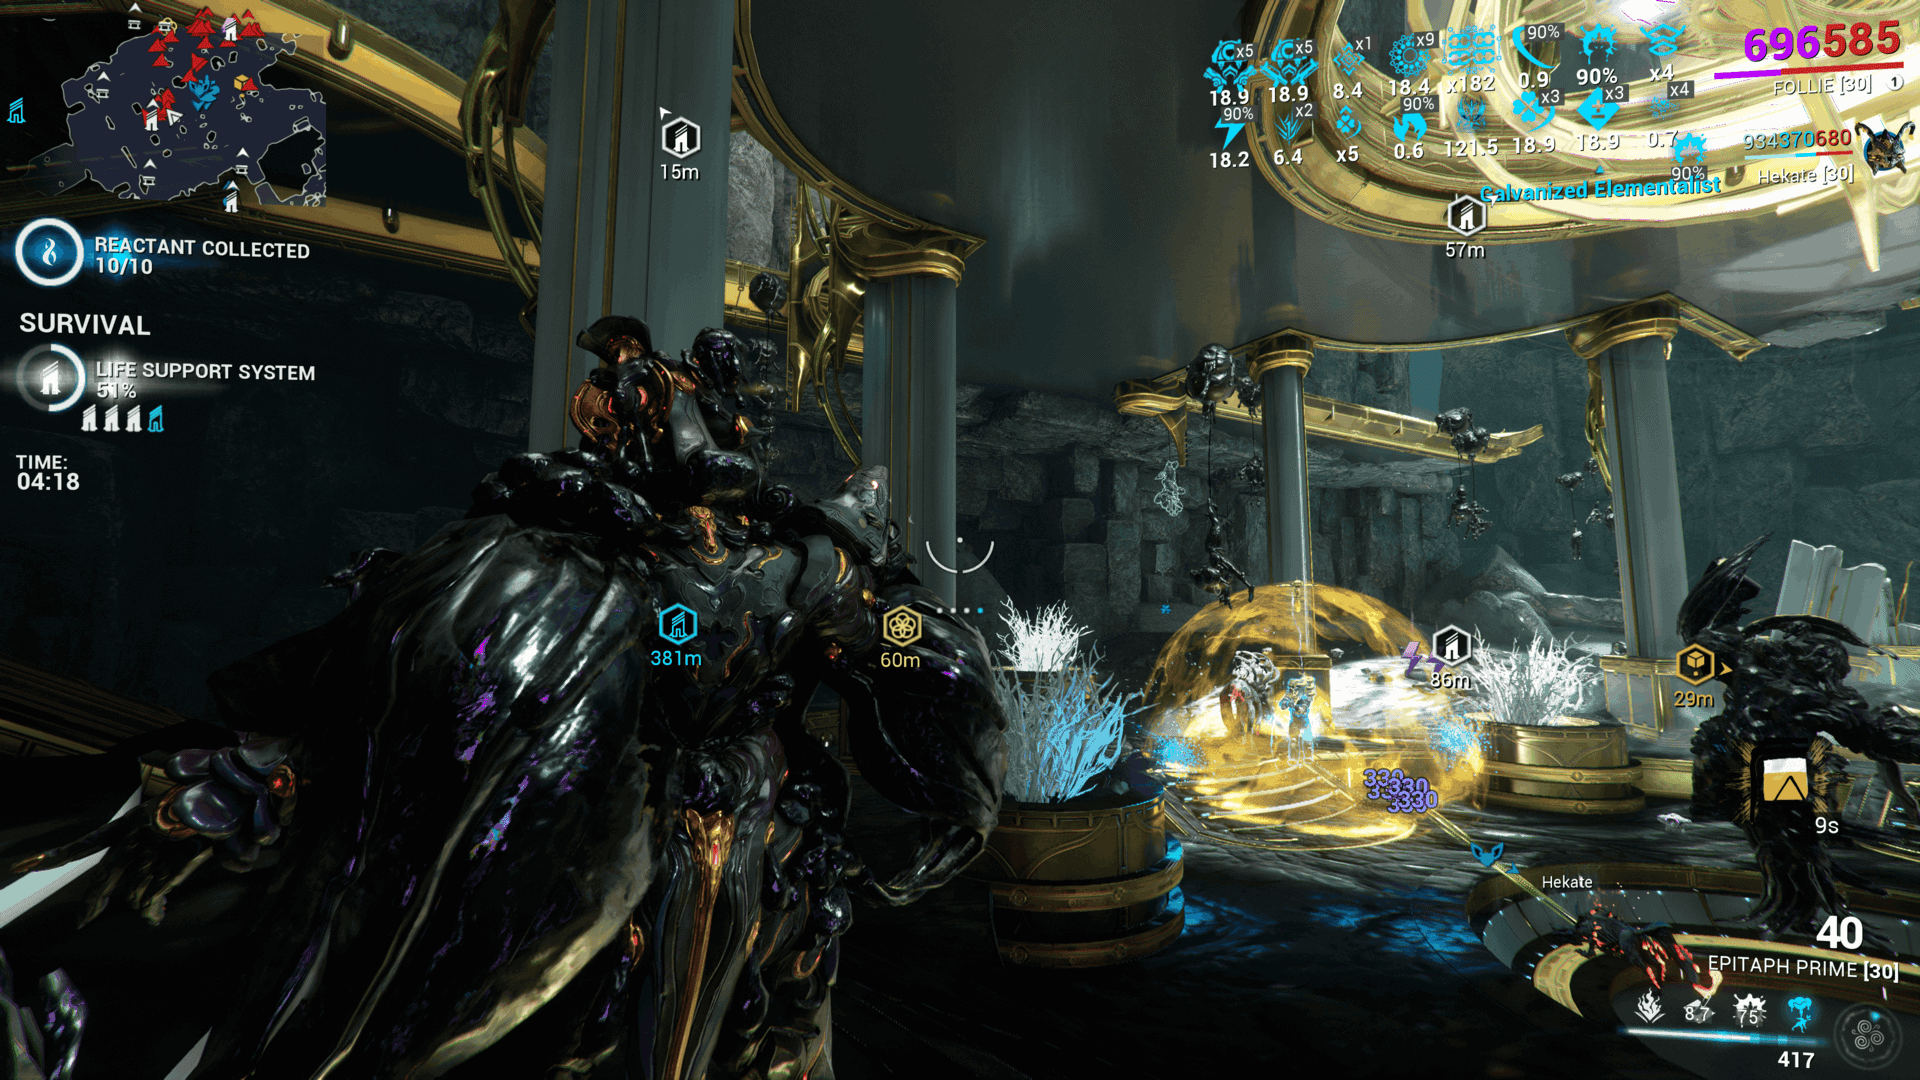
Follie excels at area control, so it helps to find a nice, open space as your playground. Casting Self Portrait somewhere central will maximize the enemies afflicted by inkblot, while also absorbing a percentage of the damage dealt to allies within the area, and you’ll almost never need to recast it since Self Portrait’s duration extends with every enemy slain in its expanding radius. From then on, it’s mostly a game of cycling Shadowgraph summons to inflict as many unique status effects as possible. As far as summons go, it’s useful to always keep a Death Orb active, since it continually applies radiation status, and Explosive Barrel is good for reliable area damage that ignores armor. Tougher enemies like Acolytes can be melted with 1-2 hits from a summoned Thermian RPG, while Arc Trap and Amphors are mostly just good for inflicting additional status effects. It’s worth noting that so long as you apply any status effect before the 20-second duration of Arcane Impetus expires, you’ll keep every stack you’ve gained. Shadowgraph summons or Dark Verse are your best bet for refreshing Impetus stacks, while Plein Air is best saved for dense crowds or when you need to restore your shields due to its high energy cost.
Just coming back to Warframe? Check out our guide on how to get Voruna Prime! Interested in more of my build-crafting? Give Trinity a try! We encourage you to comment below with any questions regarding the mods, arcanes, or various tips in this guide. Keep checking GameObserver for more Warframe guides and news!