Before your rangers are able to say their goodbyes to the Canalta Timberland, they must first contend with the ‘force of nature’ at the peak of the Dragonreach Mountains. That force of nature is the elder dragon, Yama Tsukami, and it is perhaps the first truly challenging story battle in Monster Hunter Stories 3: Twisted Reflection. But this guide will give you all the tools you need to tackle your first elder dragon and emerge victorious!
How To Reach Yama Tsukami
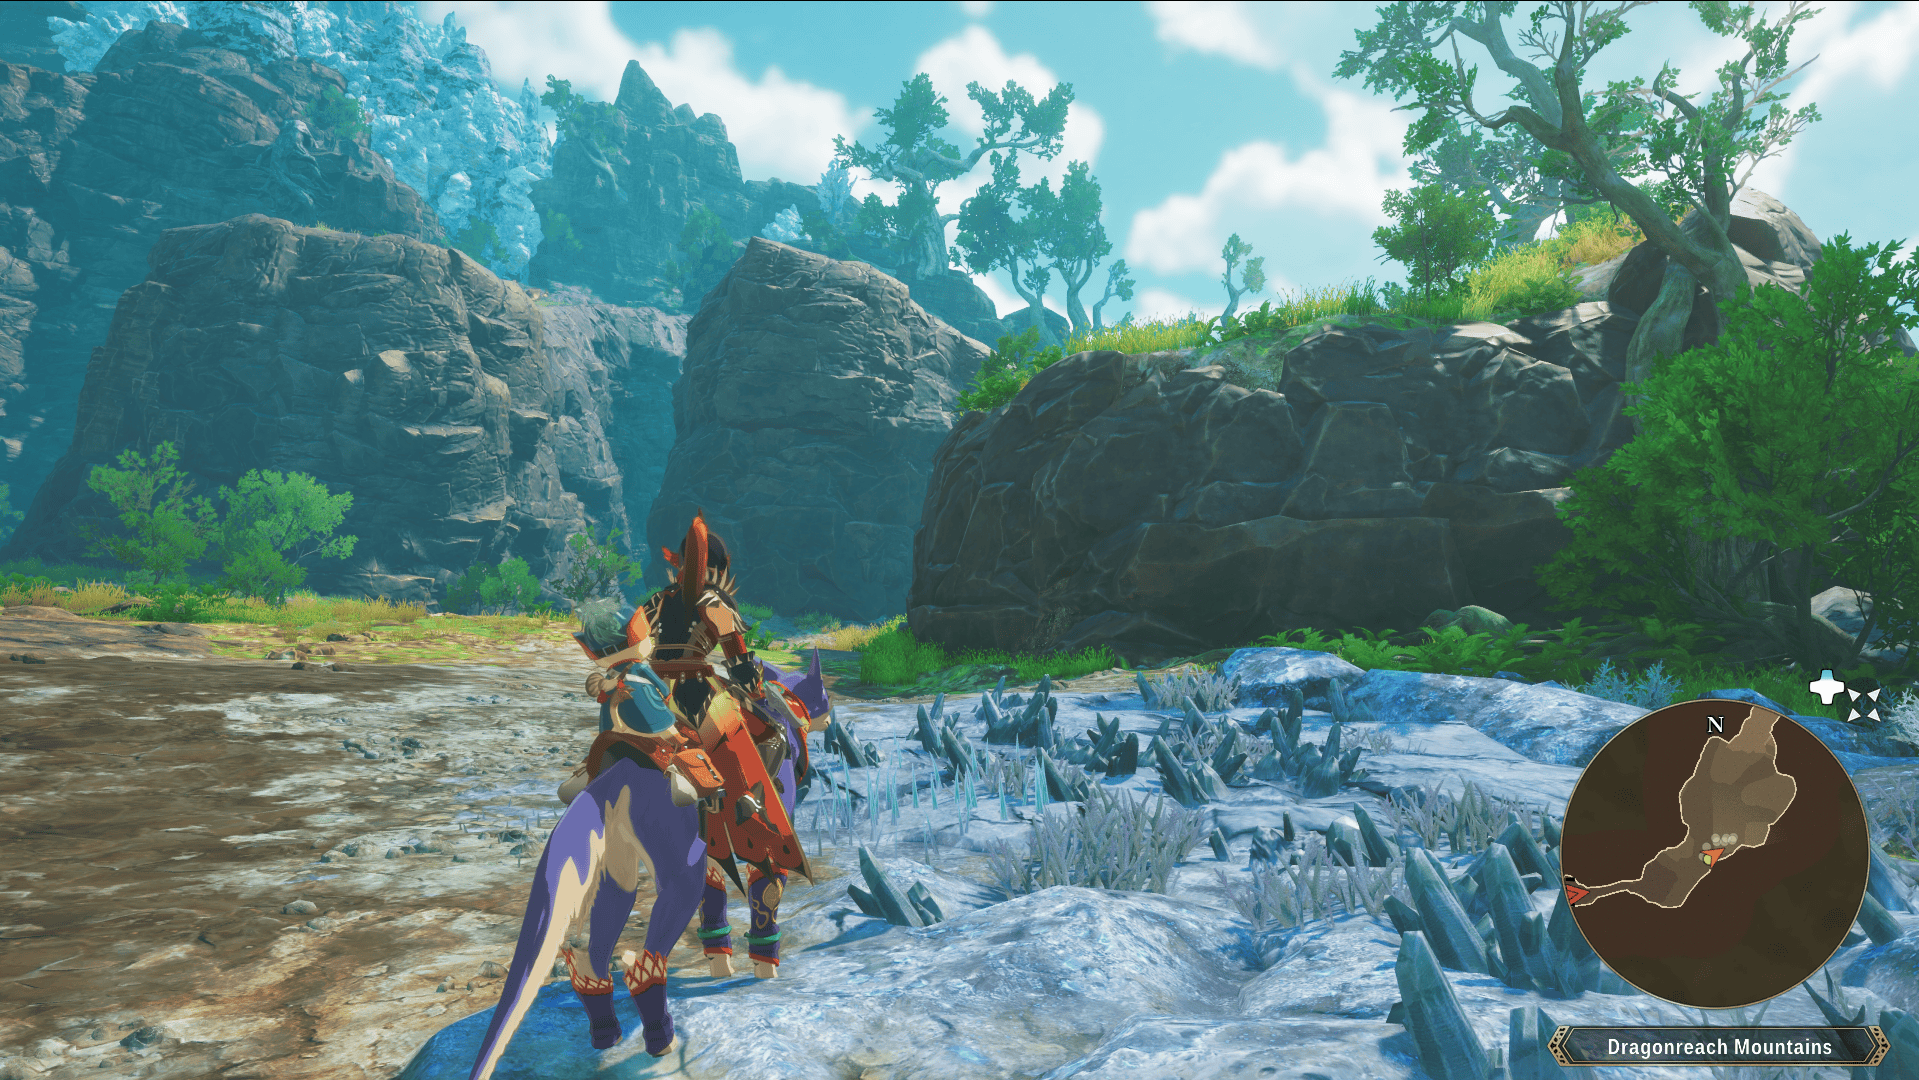
Before you can even face Yama Tsukami, your ranger’s first challenge is navigating the twisting Dragonreach Mountains path to reach them. You will need at least one monstie with a wall climb ability to navigate this area. I would also recommend bringing at least one flying monstie to reach optional areas, and monsties with breath weapons can help you to bypass the many enemies you will encounter along the trail. Beginning from Howlinyowl Forest, you will travel through to the Dragonreach Mountains Foothills. There is a Catavan Stand here, so make sure to grab it before you begin your ascent. There can be some tough encounters on the way up! As you arrive in the new area, the way forward is not immediately obvious. Use one of your monsties to jump up onto the rock on the far right of the area, as seen in the image below. From there, you can jump across two more obvious rock formations to continue your ascent.
The path continues in a fairly linear fashion, but make sure to drop down a small nook on the right-hand side to collect a hidden Poogie! Eventually, you will reach a platform with an Aknosom. From there, make sure to take a quick detour with one of your flying monsties up to the rightmost platform with a super rare den. Wouldn’t want to pass up the chance for a potent monstie egg! The following paths are filled with Great Thunderbug swarms, as well as an Aurora Somnacanth, so make sure to use your roars or breath weapons to keep them at bay. You will reach a final point where the path branches off. The left path takes you to a rare monster den, where you can get yourself another powerful monstie egg, but be aware that it is guarded by a powerful Garangolm. If needed, you can save at the nearby Catavan Stand before backtracking to it, just in case. The rightmost path is the one you will want to take to arrive at the Dragonreach Mountains: Peak Catavan Stand – your final stop before challenging Yama Tsukami.
How To Prepare For The Yama Tsukami Fight
If you are finding Yama Tsukami to be a significant step up in challenge compared to the rest of Monster Hunter Stories 3’s story bosses up until this point, then you’re in good company! But proper pre-battle preparation can shift this fight in your favor. Until now, it’s entirely possible that you’ve made it through your previous fights without ever having to consider type match-ups. However, for Yama Tsukami and their elder dragon status, it is definitely worth bearing in mind. If you ever need to consult the weaknesses of certain monsters, simply navigate to your ranger files and consult your bestiary. Part of what makes Yama Tsukami so challenging to approach is their copious amounts of resistances. If you’re approaching them with fire or especially thunder damage, you are going to be battling against these resistances. Similarly, poison, burn, paralysis, sleep, and blastblight effects are going to have little effect against this titan.

Dragon element damage has the greatest effect against the elder dragon. Unfortunately, at this stage in the story, you are unlikely to have much access to dragon element damage. Your next best option is ice. When it comes to ice damage, you have a few options. Bringing an Aurora Somnacanth along can lend itself to the fight thanks to their ice damage attacks, as well as their technical attacks, which will become relevant during the battle. Similarly, when it comes to companions, I would recommend bringing along Gaul and Legia, his trusty Legiana monstie. To switch companions, if he’s not already accompanying you, simply open up your party menu and navigate across to ‘Change Battle Allies’. From the battle ally menu, you can also change your ally’s equipped weapon. If you’ve been keeping up with Gaul’s side quests, you should now be able to switch his weapon from his usual Wind Thief Scimitar to the Crystalline Flower bow, which deals – you guessed it – ice damage! Even if you haven’t, though, Legia can still bring the ice damage, and Gaul himself is still helpful, as he seems to love using his potions to help your prince or princess out at the first opportunity presented!
When it comes to status effects, Yama Tsukami is weak to bleed and especially to darkness. I used my Kut-Ku Stave bow’s Flash Coating ability to take advantage of the living mountain’s primary weakness, but bringing a Seregios along can also take advantage of the bleed status, while offering you more technical attacks. If you want to bring an Aurora Somnacanth or Seregios along for the battle, but they’re far too underleveled, then the path you took to reach Yama Tsukami can make the perfect training ground to level them up quickly. As for levels, I’d recommend getting your prince/princess and their monsties to around level 25 or 26 to stand a good shot against Yama Tsukami. Feeling ready? Then it’s time to challenge your first elder dragon!
How To Beat Yama Tsukami’s First Phase
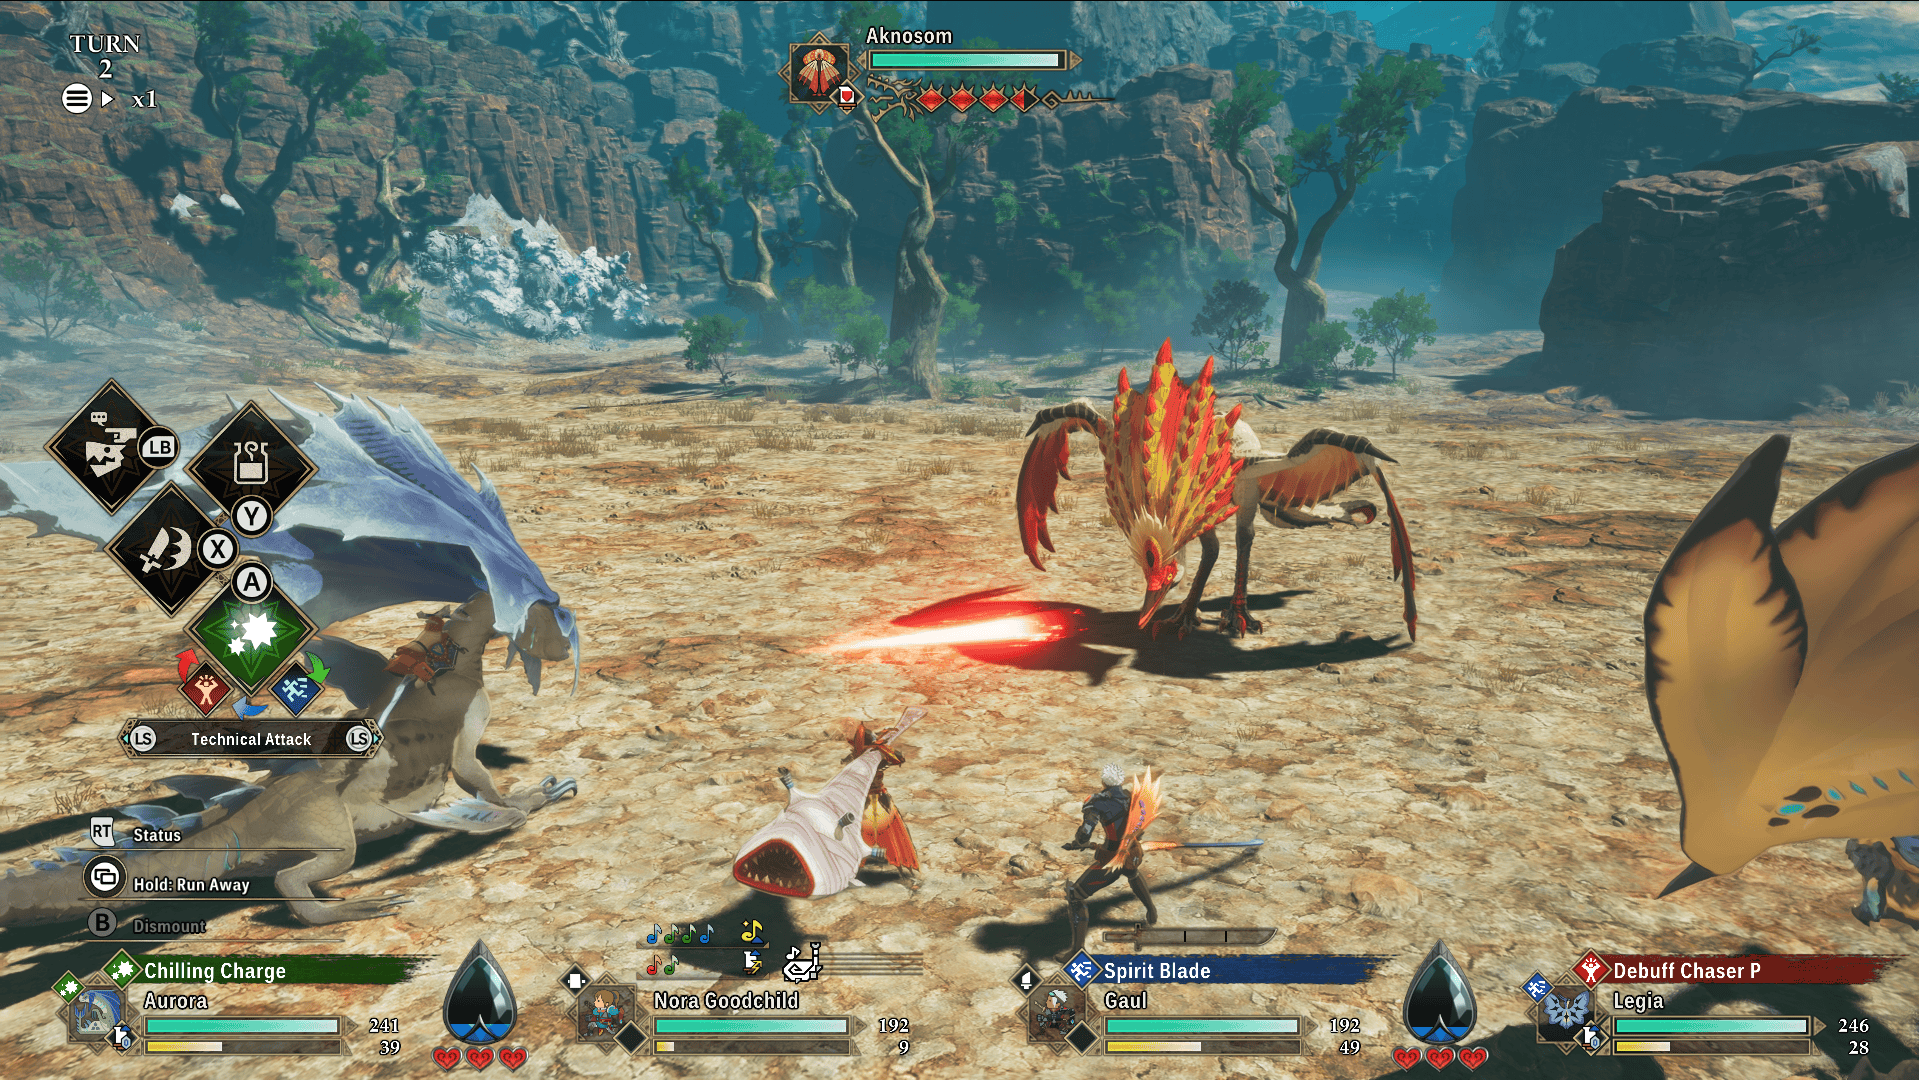
When you begin your battle against Yama Tsukami, you may notice that their health bar doesn’t move an inch. That’s okay! It’s a scripted battle based entirely around breaking certain body parts. The first thing to be aware of is that, in this first phase, Yama Tsukami will be using power attacks. This means that you’ll want to be using speed attacks to counter them. It also means it’s wise to use a monstie with speed attacks throughout this phase. Personally, I used my Canyne, as I’d been doting on them since I hatched them! While I will always vouch for a Canyne, you can use whichever of your speed-based monsties has been leveled up the most.
In this first phase, you are looking to target Yama Tsukami’s left and right tentacles. Whittle them down as quickly as you can! If the Yama Tsukami fight becomes a battle of attrition, you’re playing to the elder dragon’s strengths. They are a big damage dealer, and you’re going to want all three lives in place, if possible, in case you fail the second phase. The sooner you can destroy those tentacles, the greater the chance you stand of getting through to the second phase with all your lives intact. With that in mind, focus fire! I would not recommend using any spread or AOE attacks here, as prioritizing the tentacles specifically is far more important for this battle than damaging multiple parts. The left one is weak to piercing weapons, and the right is weak to slashing. Once they’re both destroyed, preferably without loss of life on your team, you will receive a cutscene where Yama Tsukami opens their mouth. This signals their second phase.

How To Beat Yama Tsukami’s Second Phase
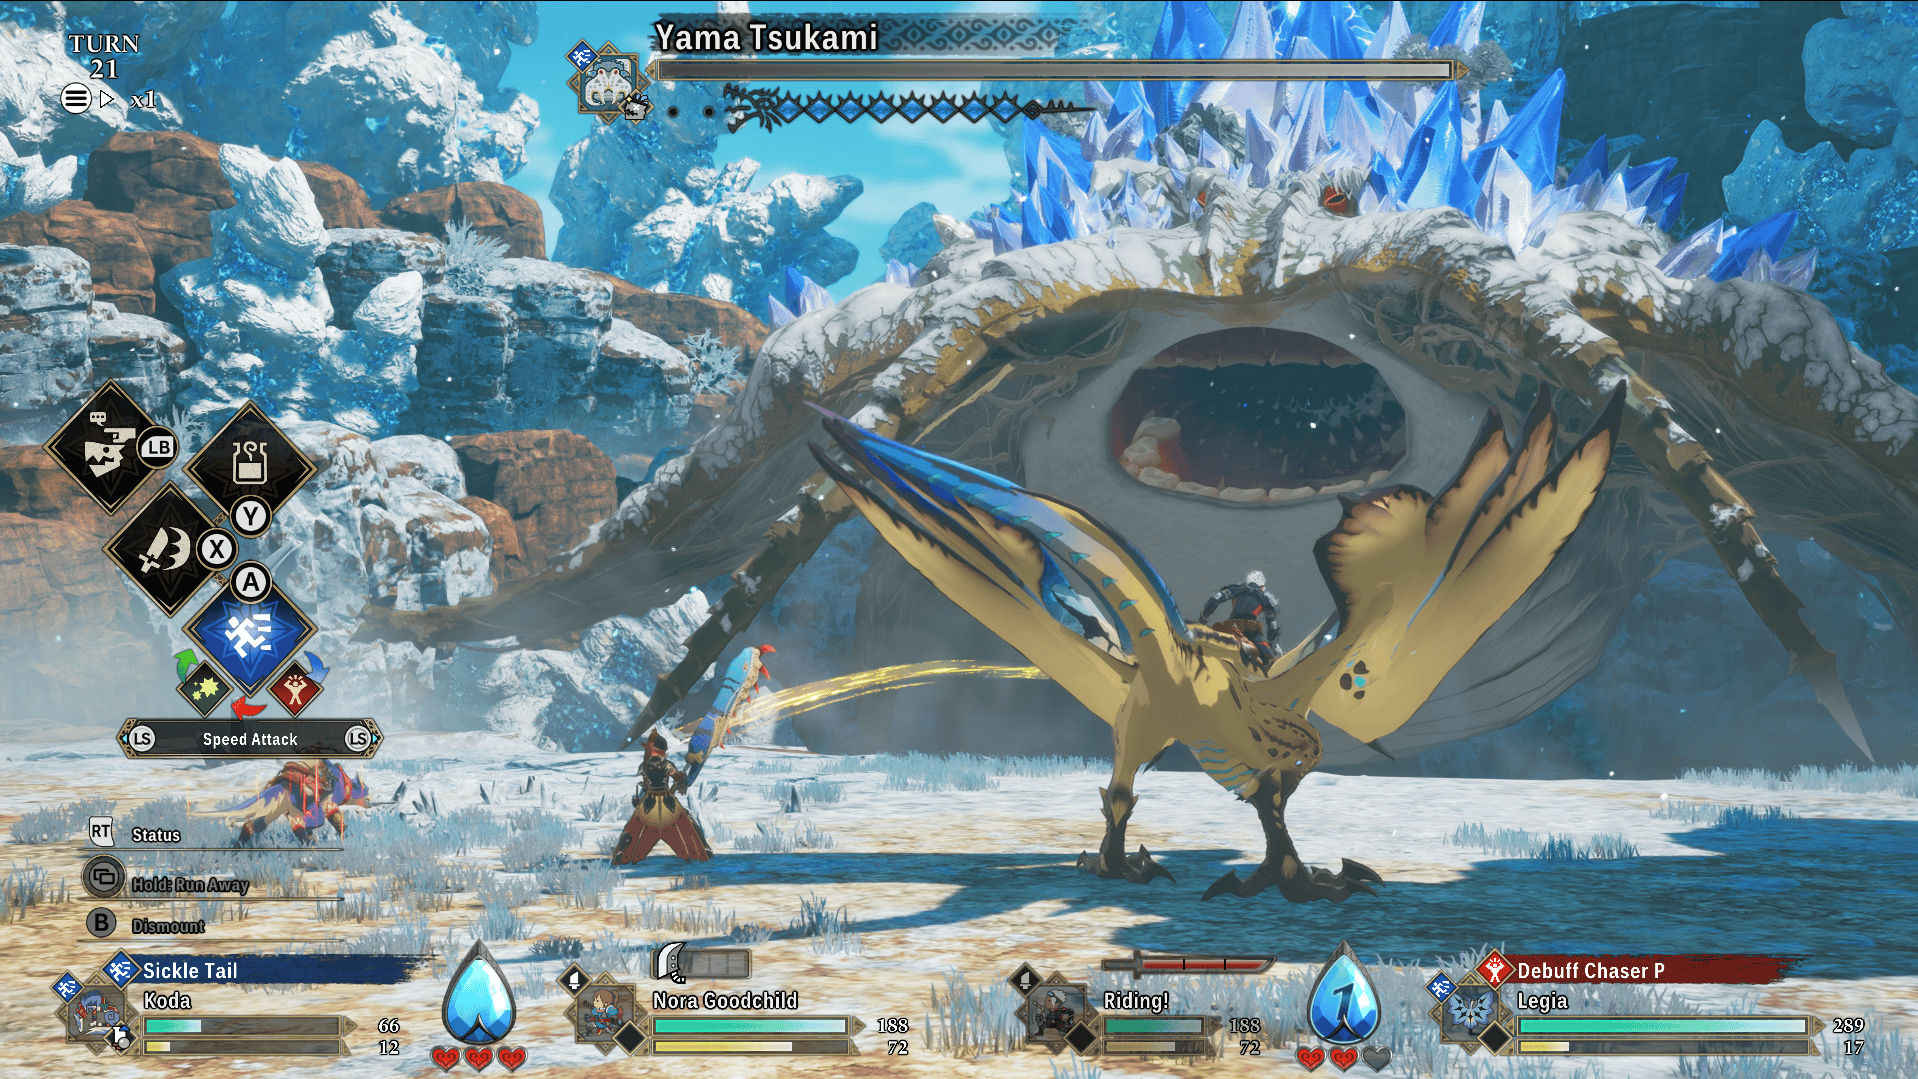
When Yama Tsukami opens their mouth, it’s time to change tactics! For the rest of this phase, Yama Tsukami will switch to speed attacks, meaning it’s finally time to put those technical attack monsties into play! By now, you should have built up enough Kinship with your previous monstie to mount it, so I’d recommend doing so and immediately delivering a Double Kinship Attack with your ally. Once you’ve used your power of friendship ultimate ability, it’s time to bring in your Aurora Somnacanth, Seregios, or any strong monstie that specializes in technical attacks! Now you want to turn your attention to targeting the elder dragon’s mouth. As with before, you will want to whittle this part down as quickly as possible. This time, you are on a bit of a timer. Fail to break the mouth in time, and the monster will unleash its devastating Yama Tsukami Pull attack, which will likely take away a life from every one of your combatants (hence why you want to hang onto all three as a buffer).
As with the tentacles from before, skip the AOE attacks in favor of focusing everything you’ve got on the mouth directly. Fortunately, unlike with the tentacles, the mouth is weak to blunt, piercing, and slashing, so you can just use your best weapon for this stage. During this section, Yama Tsukami will enter an exposed state where they are weakened. Make sure to deal as much damage as you can during this state to capitalize on it. With all of this in play, you should be able to break Yama Tsukami’s mouth, which will trigger a cutscene. Now you will have to repeat the stages one more time. The same advice applies. Switch back to your speed attack monstie (after dealing a devastating Double Kinship Attack, of course) while you focus on destroying the tentacles, then it’s back to your technical attack monstie to break that mouth! Once you’ve broken the mouth a second time, you will get your final cutscene, and victory will be yours!
With this guide in your ranger files, hopefully Yama Tsukami won’t seem like such an insurmountable mountain to conquer! Why not help each other out? Comment below with any advice you found helpful for your Yama Tsukami run! And let us know what other Monster Hunter Stories 3 battles you would like to see covered in a guide over at GameObserver!