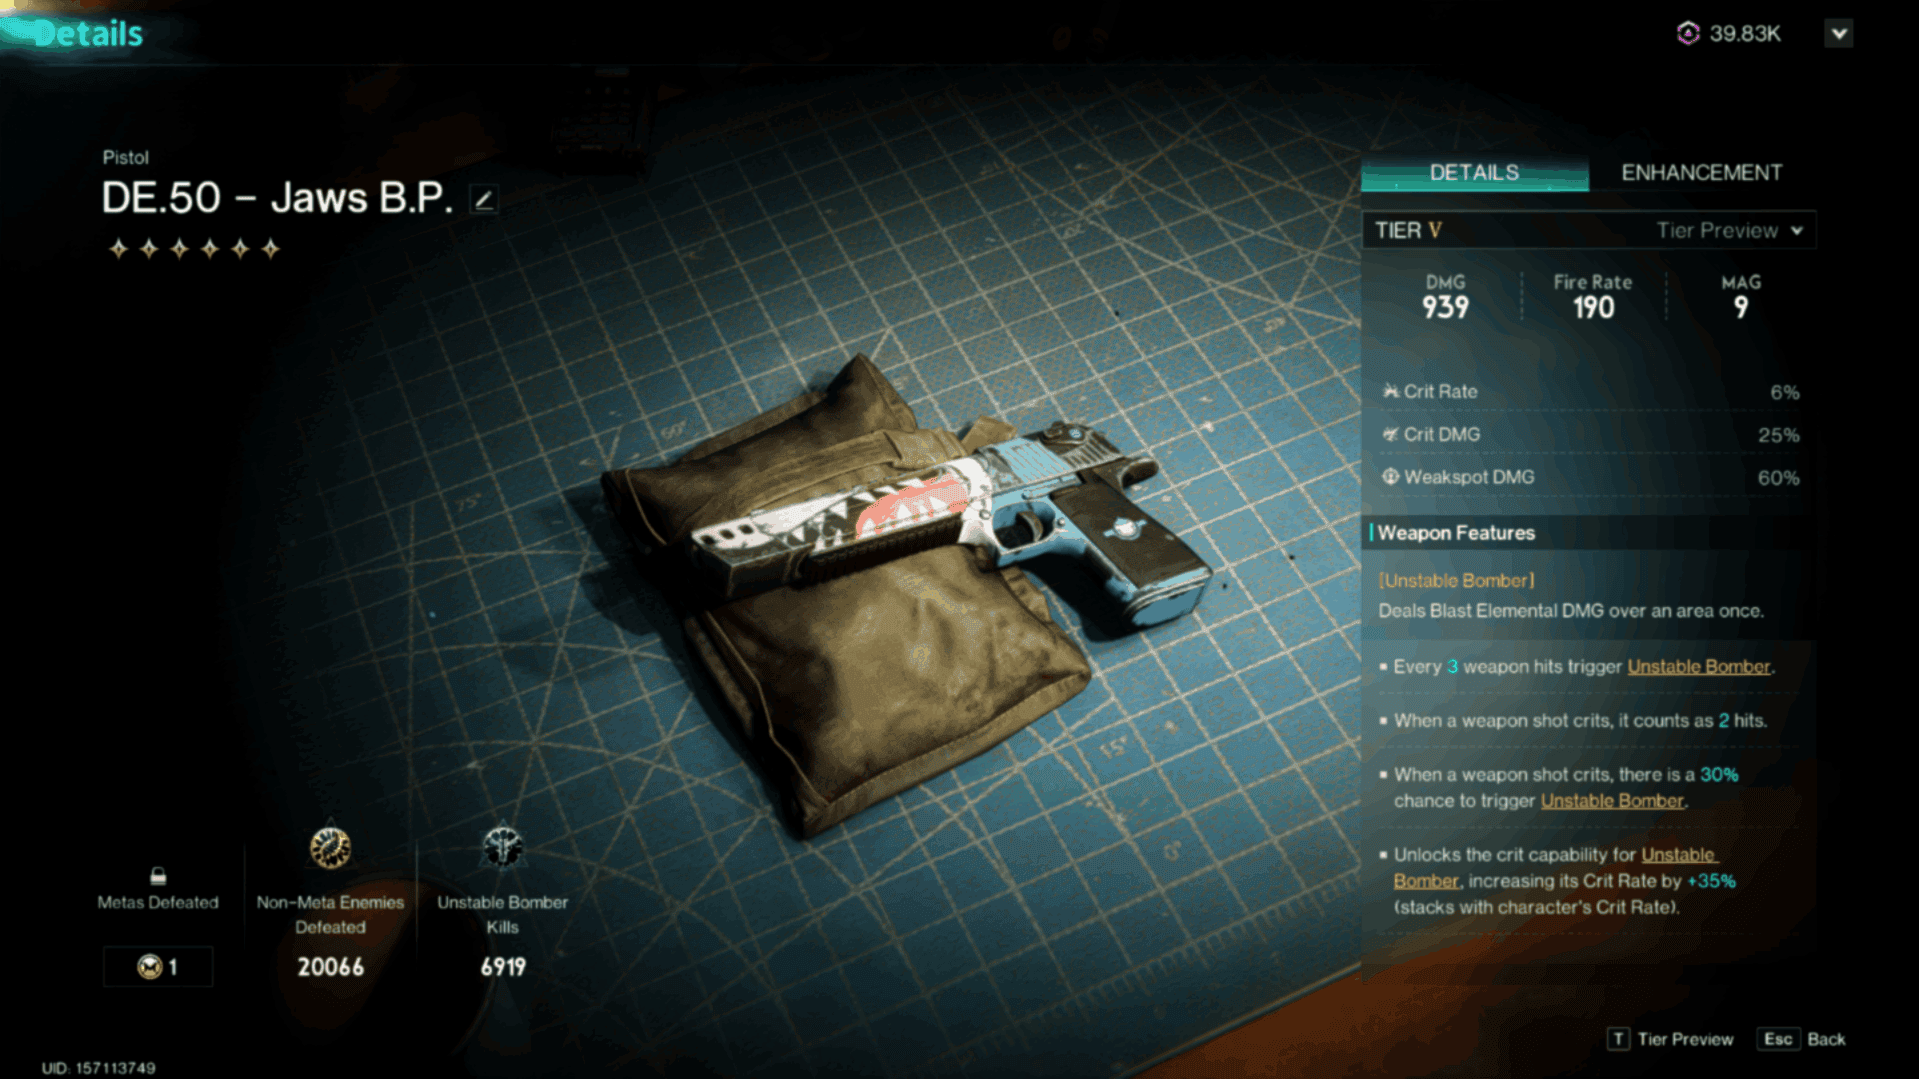
While many players forgo pistols for somewhat flashier weapons or simply relegate them to secondary status, the DE.50 Jaws is a reliable powerhouse that can easily compete with top-tier weapons when built properly. It’s not the newest gun in Once Human’s arsenal, but it is one that has stood the test of time.
In this guide, I’ll show you how to create a loadout for the DE.50 Jaws that can easily hit 200k DPS, where your damage output directly funnels back into your survivability through shield sustain. Even though this build performs best at low HP (ideally 1 HP), you’ll never actually go down so long as you keep firing. This build easily solos Nightmare Silos and Monolith bosses, and excels at both crowd-control and single-target damage.
Weapons & Mods
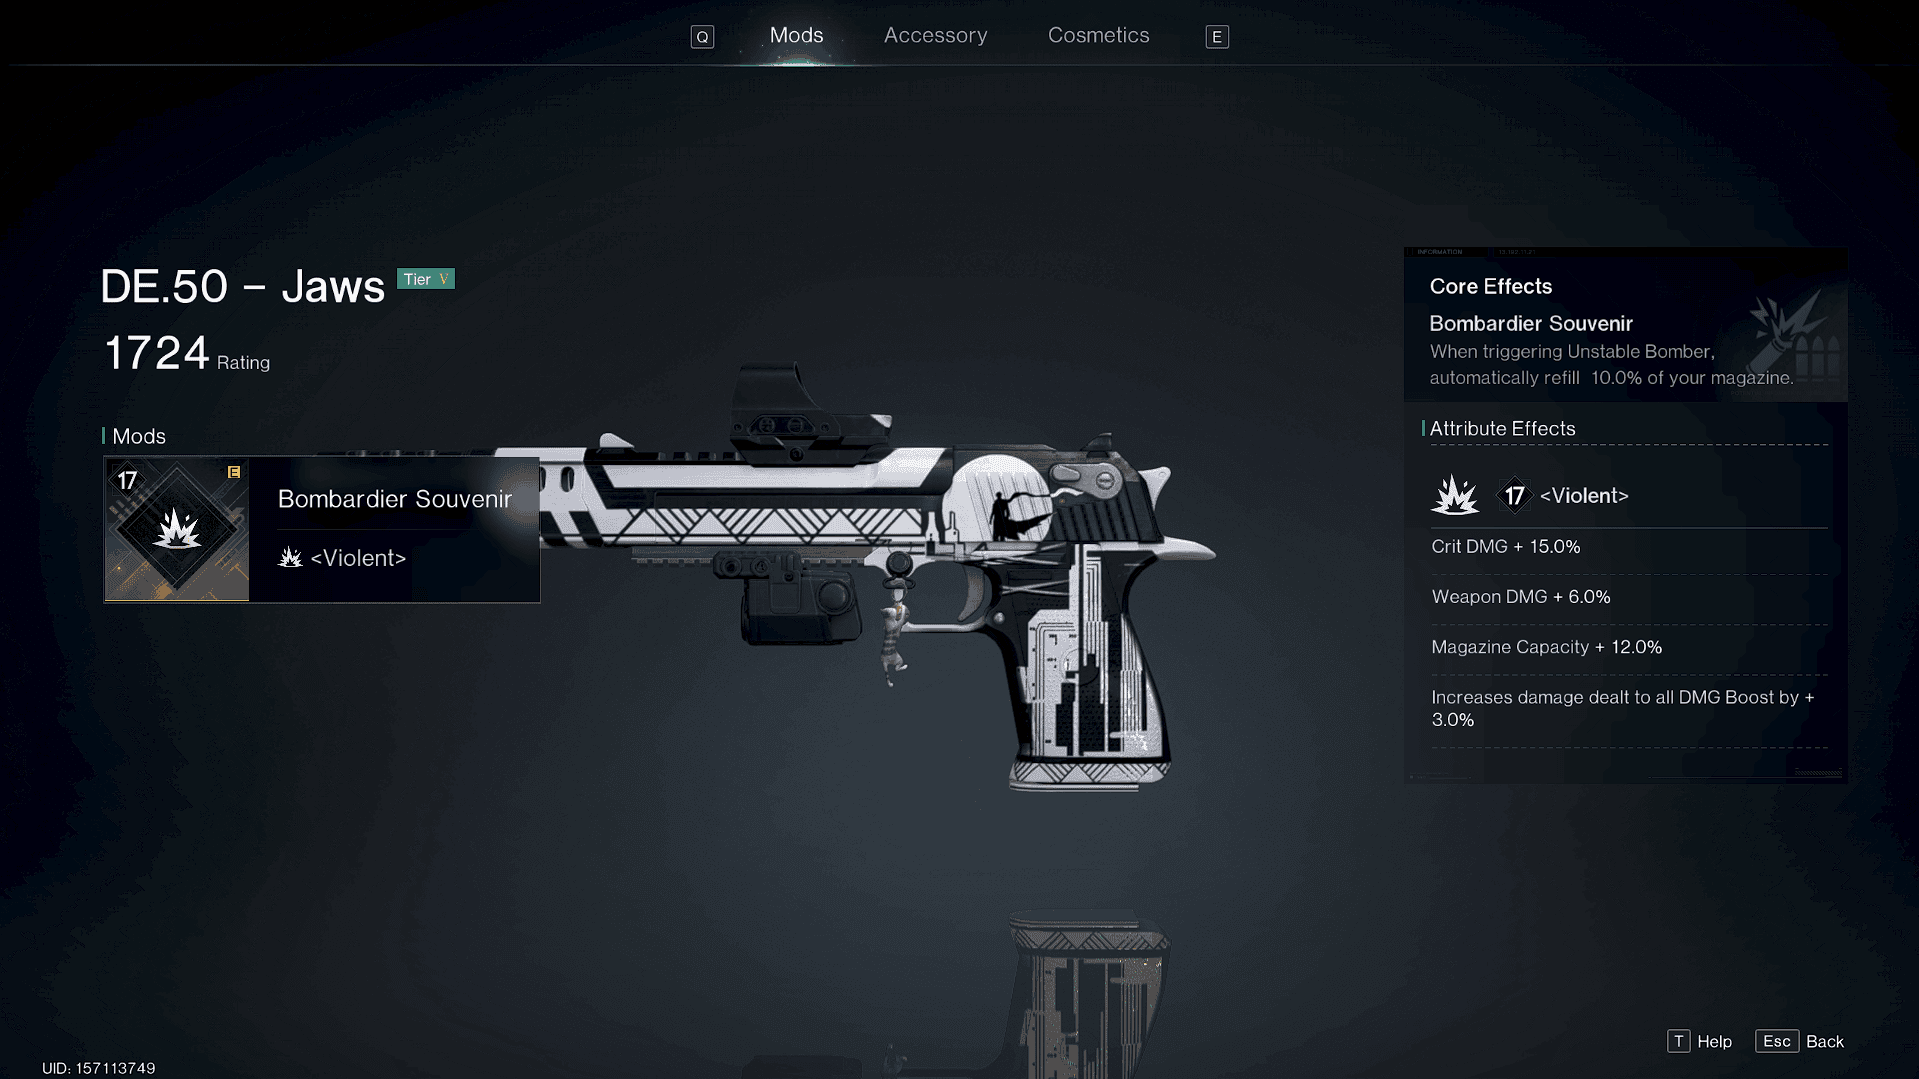
The DE.50 Jaws acts as your primary damage powerhouse, while your secondary and melee options exist almost purely to prime targets with Vulnerability and crit rate buffs for short damage bursts.
Primary: DE.50 Jaws
The Jaws inflicts the Unstable Bomber effect, which deals Blast Elemental damage over an area. This happens every 3 hits, with a crit counting as 2 hits and having a 30% chance to trigger an additional Unstable Bomber effect. Crucially, the Jaws also allows Unstable Bomber to critically hit, increasing the crit Rate by 35% (stacking with the player’s crit rate). Essentially, then, you primarily want to build around crit Rate and crit Damage to trigger constant, devastating Unstable Bomber effects.
- Mod: Bombardier Souvenir <Violent>
- Refills 10% of your magazine whenever Unstable Bomber triggers
- Muzzle: Tactical Flash Hider
- While not the highest tier accessory, the increased stability is vital to control the Jaws’ recoil
- Optics: Compact Reflex Sight
- Maximum zoom and mobility
- Tactical: Compact Flashlight
- Further increased stability
- Magazine: Extended Pistol Mag
- Combined with Bombardier Souvenir, the extended mag lets you chain explosions without needing to reload
Secondary options
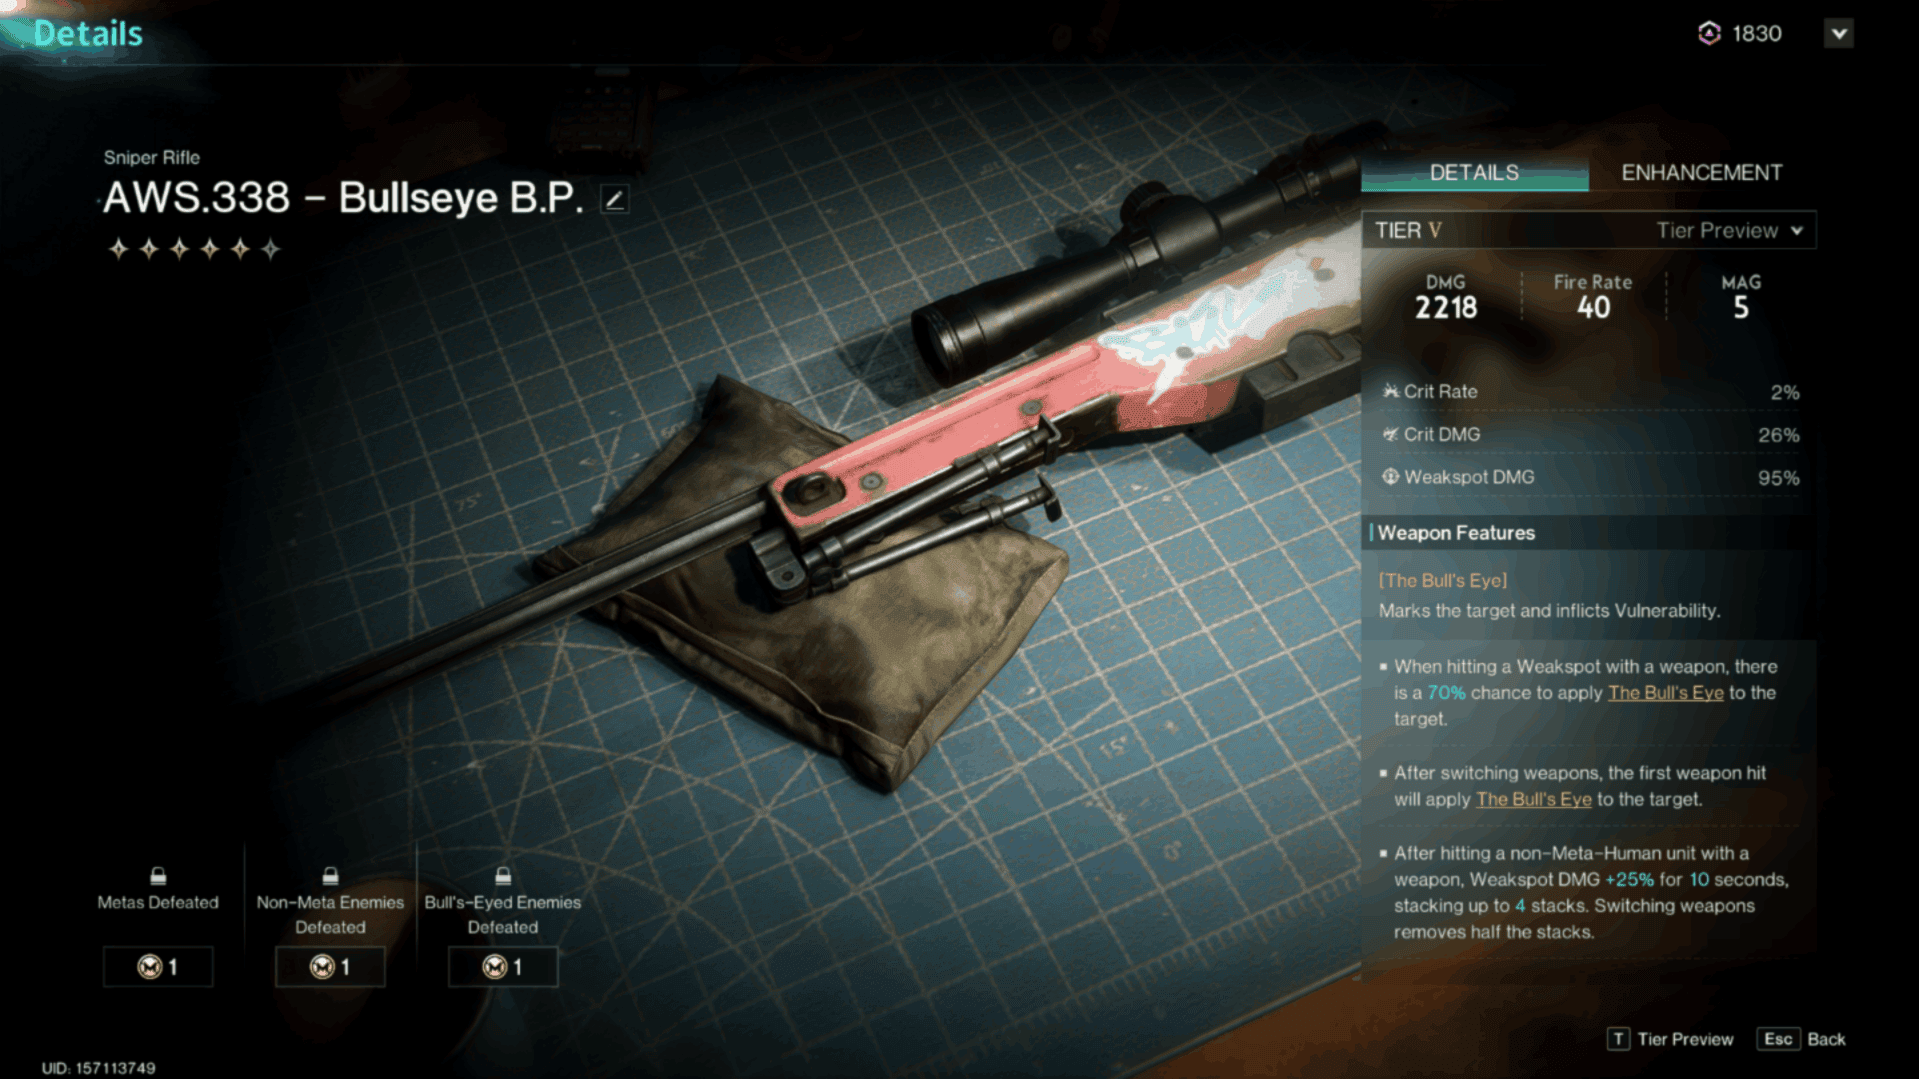
Since the DE.50 Jaws is the primary damage dealer in this build, the main benefit of any secondary will be the utility it provides. A Bull’s Eye weapon, such as the Recurve Crossbow or AWS.388 Bullseye sniper rifle, can inflict vulnerability on enemies to further enhance the damage done by your Jaws. Whichever weapon you decide to go with, you’ll want to use the mod Vulnerability Amplifier with The Bull’s Eye suffix to maximize inflicted vulnerability.
- AWS.388 Bullseye: Applies The Bull’s Eye on your first shot after swapping weapons. Best for bosses with hard-to-hit weakspots
- Recurve Crossbow: Increases crit rate by 15% against targets inflicted with The Bull’s Eye, but requires landing a weakspot hit first
Melee options
Realistically, most players tend not to consider melee at all when creating builds, but there is some mild synergy here with the Long Axe. Since a heavy attack gives +8% Crit Rate (stacking up to 3x) for 10s, you can drop a heavy swing before unloading with your Jaws for more reliable Unstable Bomber triggers.
Armor & Mods
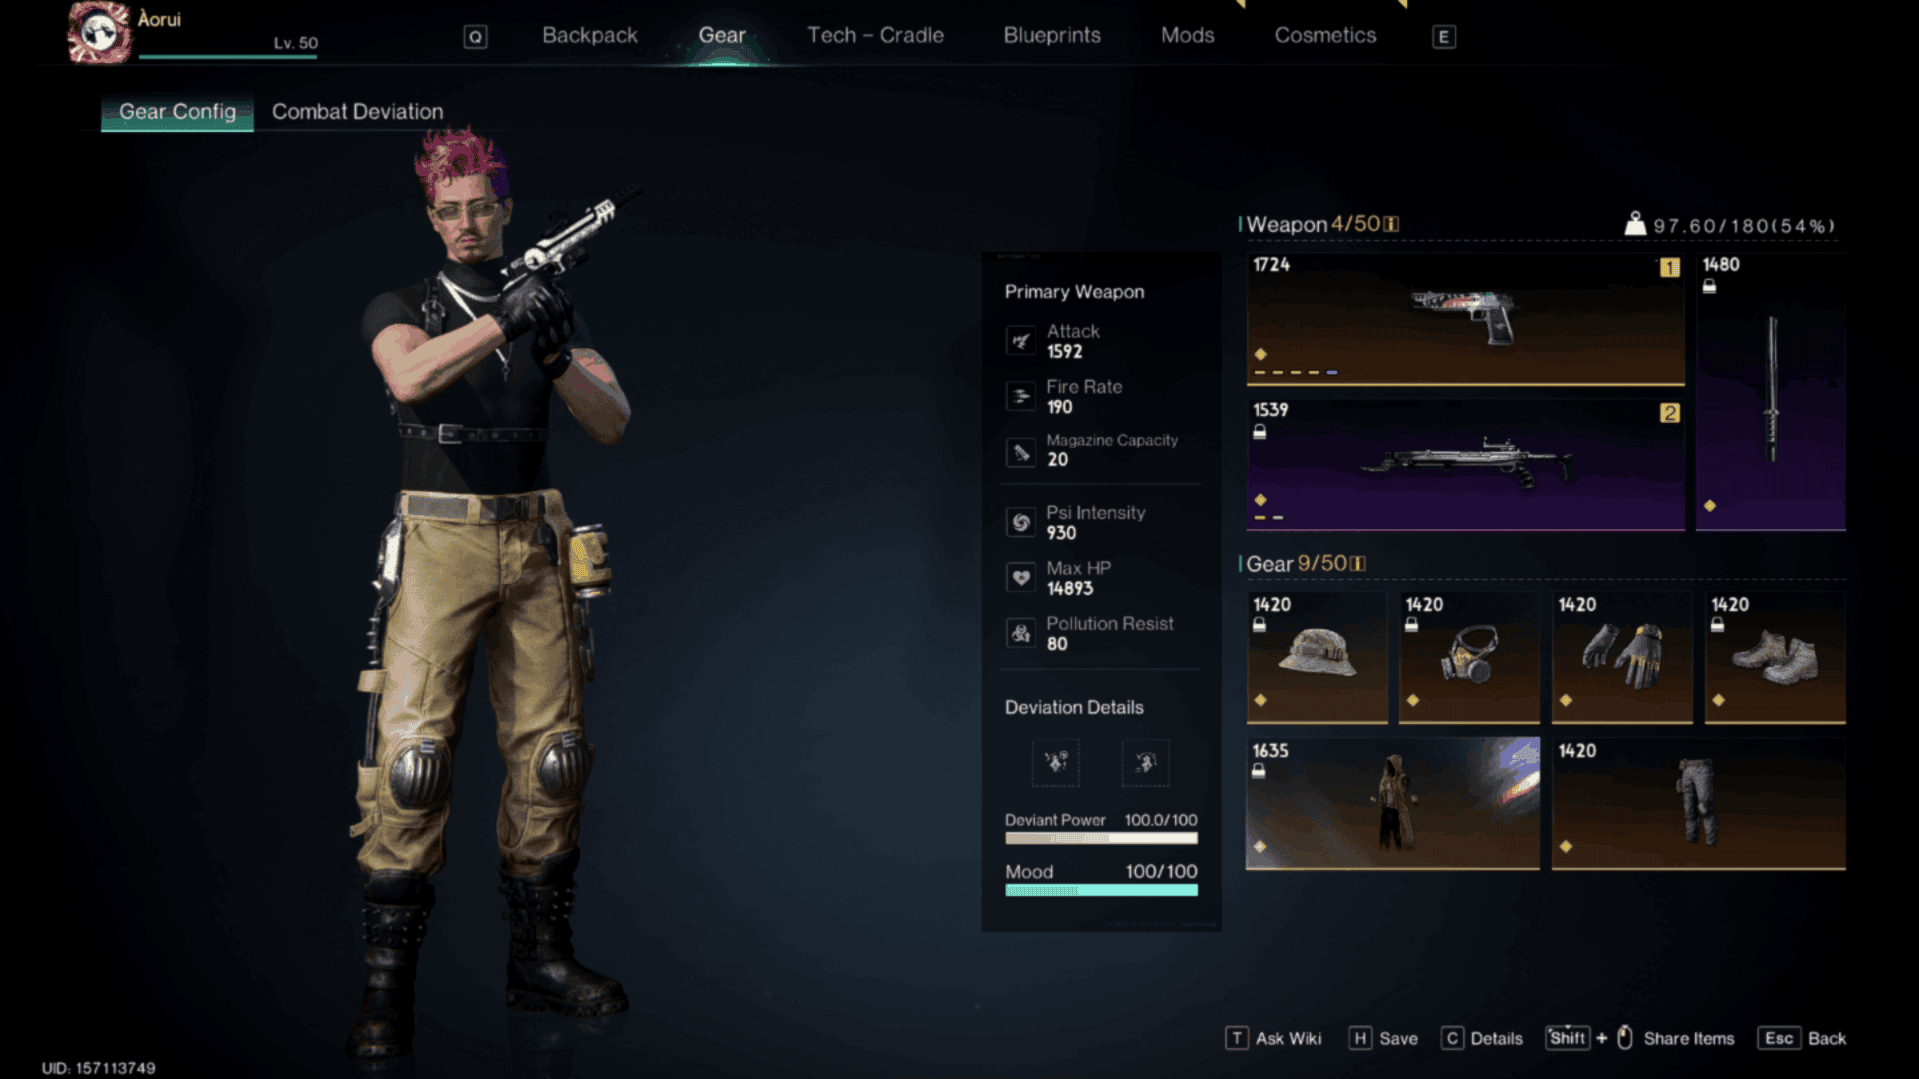
Your gear has to strike a deliberate balance between damage output and survivability. By pairing gear pieces that buff Unstable Bomber and generate shields with mods that scale off low health and increase crit rate, this setup allows you to sit safely behind a replenishable shield while maintaining maximum DPS.
Armor sets
You can only have one armor piece with a key effect, and the Shaman Vulture Top is the most useful for an Unstable Bomber build. The other five pieces are then split between any three pieces of the Savior set and any two of the Dark Resonance set. The first effect of the Savior set isn’t particularly useful for this build, but it is required to reach the second and third effects, which are crucial.
- Shaman Vulture Top
- Key Effect: Crit Rate +35% for 3s after triggering Unstable Bomber
- Savior set (3x)
- 1-Piece: Medicine Cooldown Haste +20%
- 2-Piece: Weapon and Status damage +10% while shielded
- 3-Piece: Consumes 8% of HP on hit to generate a temporary shield equal to 5% Max HP for 30s. When shield exceeds 40%, hits landed refresh shield duration and damage boost timer without deducting HP. When HP is consumed, Weapon and Status damage +5%, up to 4x and lasting 12s
- Dark Resonance set (2x)
- 1-Piece: Using deviation ultimate ability grants 10% temporary shield for 10s
- 2-Piece: Weapon and Status damage +12% when deviation power is not full
Armor mods
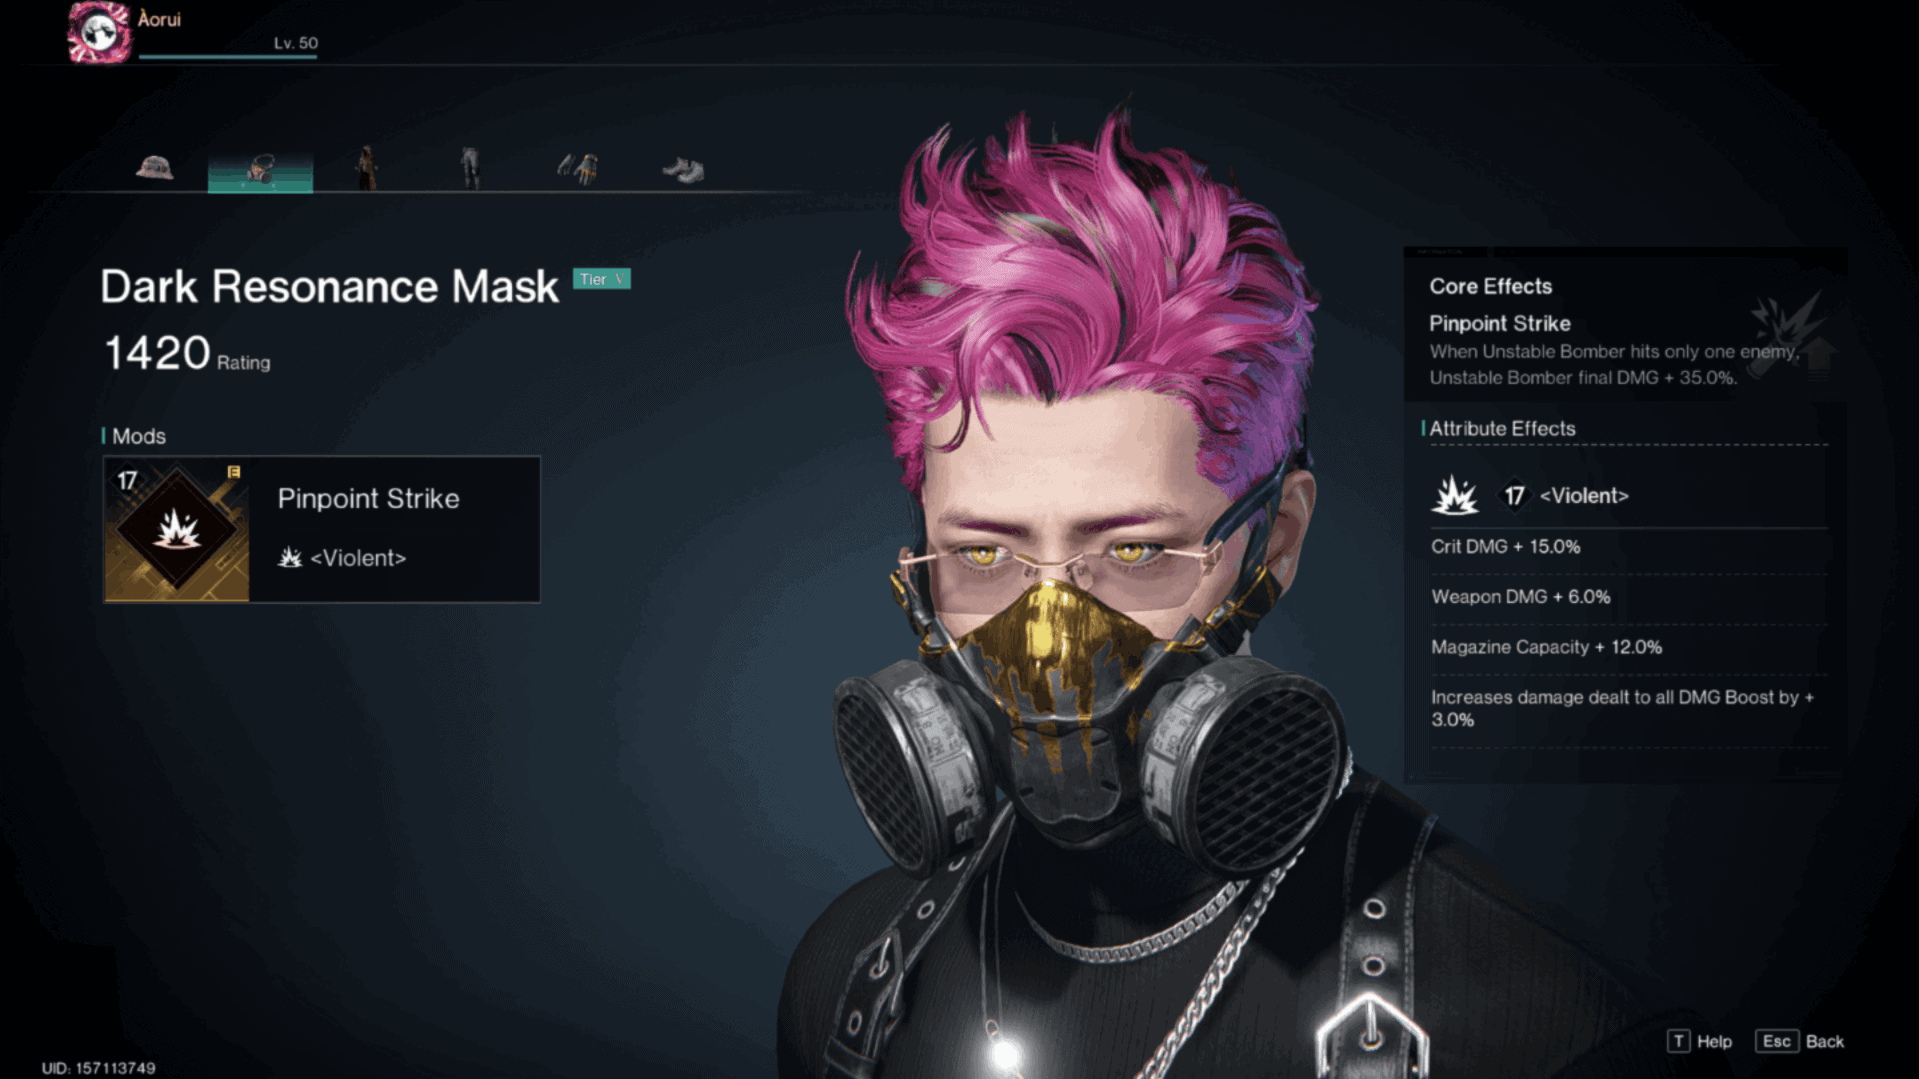
You’ll primarily want to stick to mods using the Violent suffix to maximize your crit damage and magazine capacity. You’ll be dealing critical hits almost constantly, making crit damage a given, and the increased mag capacity provides a greater buffer to ensure Bombardier Souvenir keeps your magazine topped off. That said, it doesn’t hurt to include a couple mods with the Aero Deviant Energy suffix for the increased max HP and greater status and elemental damage, since your mag will be at 26 rounds even without a full spread of Violent mods.
- Helmet: Fortune’s Favor <Violent>
- Sacrifices weakspot damage for +10% crit rate and +30% crit damage
- Mask: Pinpoint Strike <Violent>
- Unstable Bomber final damage +35% when hitting only one enemy
- Top: Rejuvenating <Violent>
- Defeating an enemy recovers 20% of Max HP when shield is above 30% of Max HP, with excess recovery converted into shield lasting 20s
- Bottom: Deadshot <Aero Deviant Energy>
- Crit hit by ranged weapons grants +5% crit damage, up to 45%, removed upon the next reload
- Gloves: Crit Boost <Aero Deviant Energy>
- Crit rate +15%
- Shoes: Rush Hour <Violent>
- Every 10% missing HP grants +4% melee, weapon, and status damage
Deviations and Cradle
There are a lot of deviations to choose from in Once Human, but the best pairing for this build will be one that boosts your damage and helps keep you alive. You could go with a Dr. Teddy for the increased fire rate and self-revive, but the Voodoo Doll in particular really makes this build shine, especially when paired with the right cradle perks.
Combat deviation
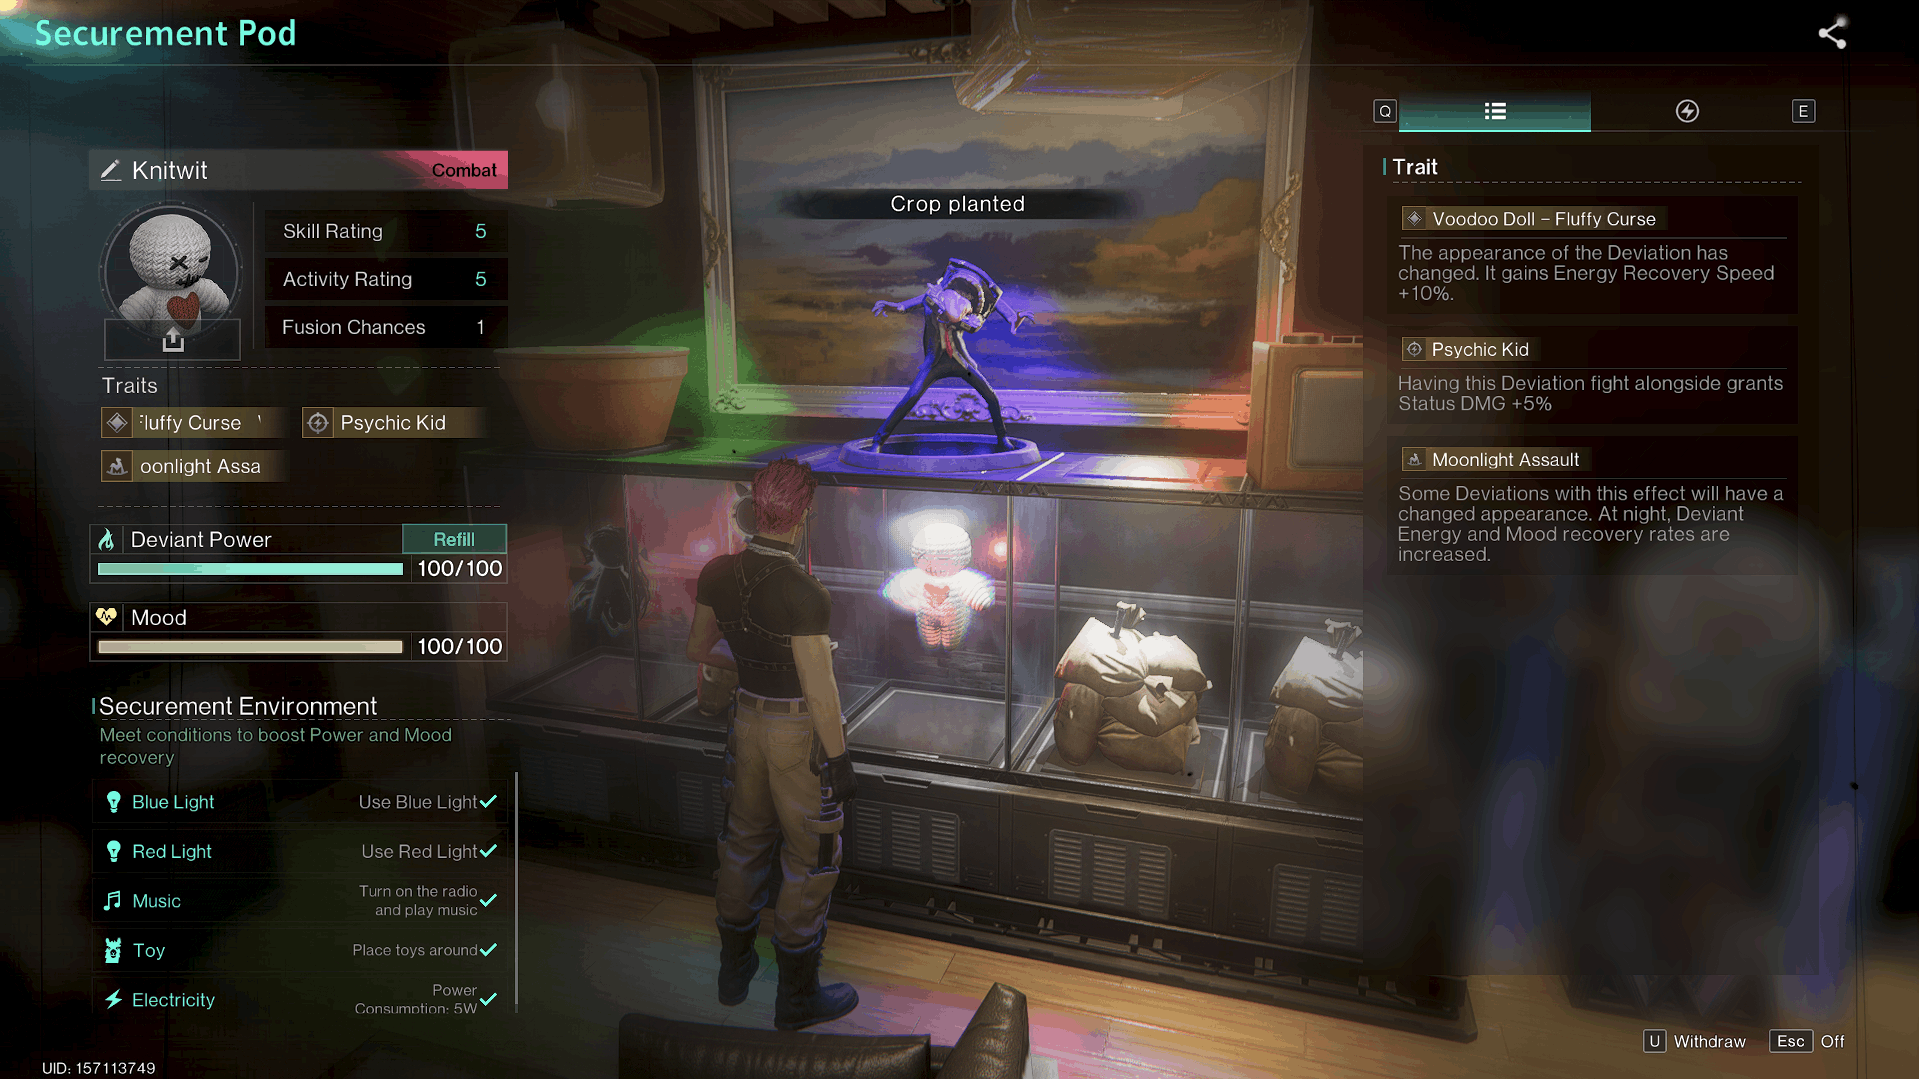
The Voodoo Doll is a bit of a double-edged sword, since the vulnerability it inflicts on enemies also applies to the player. This downside is offset somewhat by its ultimate ability, though, which offers 50% damage absorption, and the raw damage output the Voodoo provides ensures you’re typically generating shields faster than enemies can drain them.
- Cursed Haven: The player gains a 18% weapon, status, and melee damage bonus, but gains 17% weapon, status, and melee damage vulnerability for 10s.
- Life-Stealing Light: Summon the Voodoo Doll, giving the player and nearby enemies weapon, status, and melee vulnerability. The doll absorbs 50% of the damage taken by the player and deals damage to nearby enemies every second. When using Cursed Haven, enemies are also afflicted with a curse effect. (When Skill Rating is 5), the vulnerability increases to 60%, and the doll gains an additional 100% of the player’s Max HP. Every second within 20 meters, it deals 500% Psi intensity of PSI Damage to the nearest 5 enemies.
Cradle perks
As with the rest of this build, your cradle perks should revolve around increasing damage output and survivability. There’s some room for adjustment here, but Deviant Energy Defense is absolutely crucial to get your shield above the 30% max HP threshold to trigger the Rejuvenating mod effect (because you can never have enough shields). You could swap out something like Precision Weapon Mastery or Tactical Combo for a quality-of-life perk or two, but these are the perks I would generally recommend to optimize this build’s performance:
- Deviant Energy Defense: Summoning or handling Deviations grants a temporary shield equal to 30% of Max HP, lasting 30s. While the shield is active, weapon damage reduction and status damage Reduction +10% (cooldown: 30s)
- Resilience: Shield takes 30% less damage from monsters
- Shield Protection: When shield is above 40% of Max HP, Deviant damage reduction +10%, damage to monsters +10%
- Light Weapon Mastery: Damage +15% when wielding Pistols, LMGs, and melee
- Precision Weapon Mastery: Damage +15% when wielding sniper rifles, SMGs, or crossbows
- Explosive Bonus: Unstable Bomber damage +5% for 8s after triggering Unstable Bomber, up to 5 stacks
- Elemental Sense: After dealing Elemental DMG, that Element’s DMG +25% for 4s
- Tactical Combo: Weapon DMG +15% for 4s after switching weapons or reloading
Combat Loop
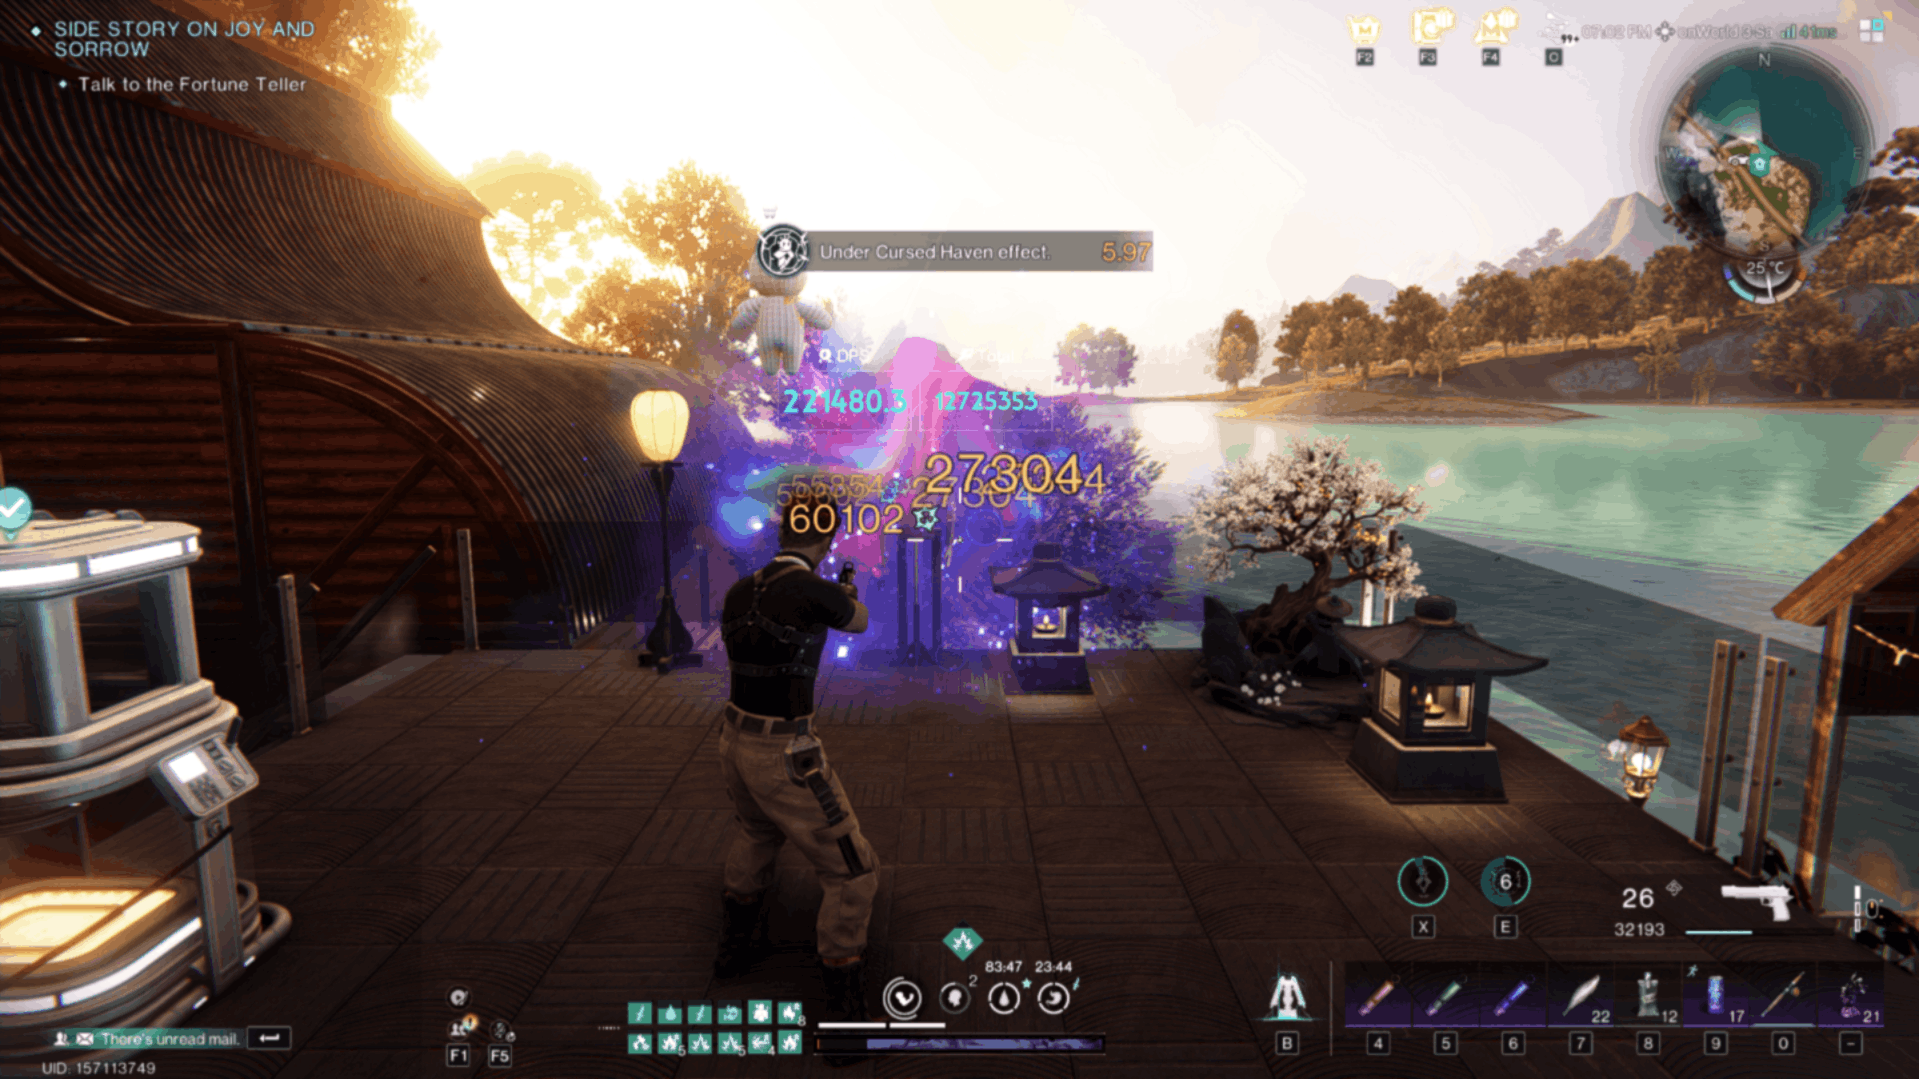
Keeping your DPS up is something of a balancing act given the numerous effects that boost your damage, but getting the rotation down will ensure you remain around a nice 200k threshold. For general gameplay, you can mostly just rely on the Jaws itself, but for stronger enemies it can help to take full advantage of all the tools at your disposal.
Rotation
Your immediate focus in battle should be generating some shields as a safety net, especially if you’re running at 1HP like I do, since nothing kills your DPS faster than going down constantly and having to wait out the self-revive cooldown. Casting Life-Stealing Light immediately will get you a nice 30% shield out of the gate thanks to Deviant Energy Defense, giving you the protection you need to dive into the nearest group of enemies to trigger the Voodoo doll’s vulnerability effects and damage. If you’ve got a perfect voodoo, you’ll be able to keep re-casting Cursed Haven as soon as it expires, ensuring your damage boost is always active, and your shots are generating as much shielding as possible. For elite enemies and bosses, it can help to quickly swap to your secondary to inflict The Bull’s Eye, which synergizes nicely with the +15% damage upon swapping weapons from Tactical Combo.
Food & drink buffs
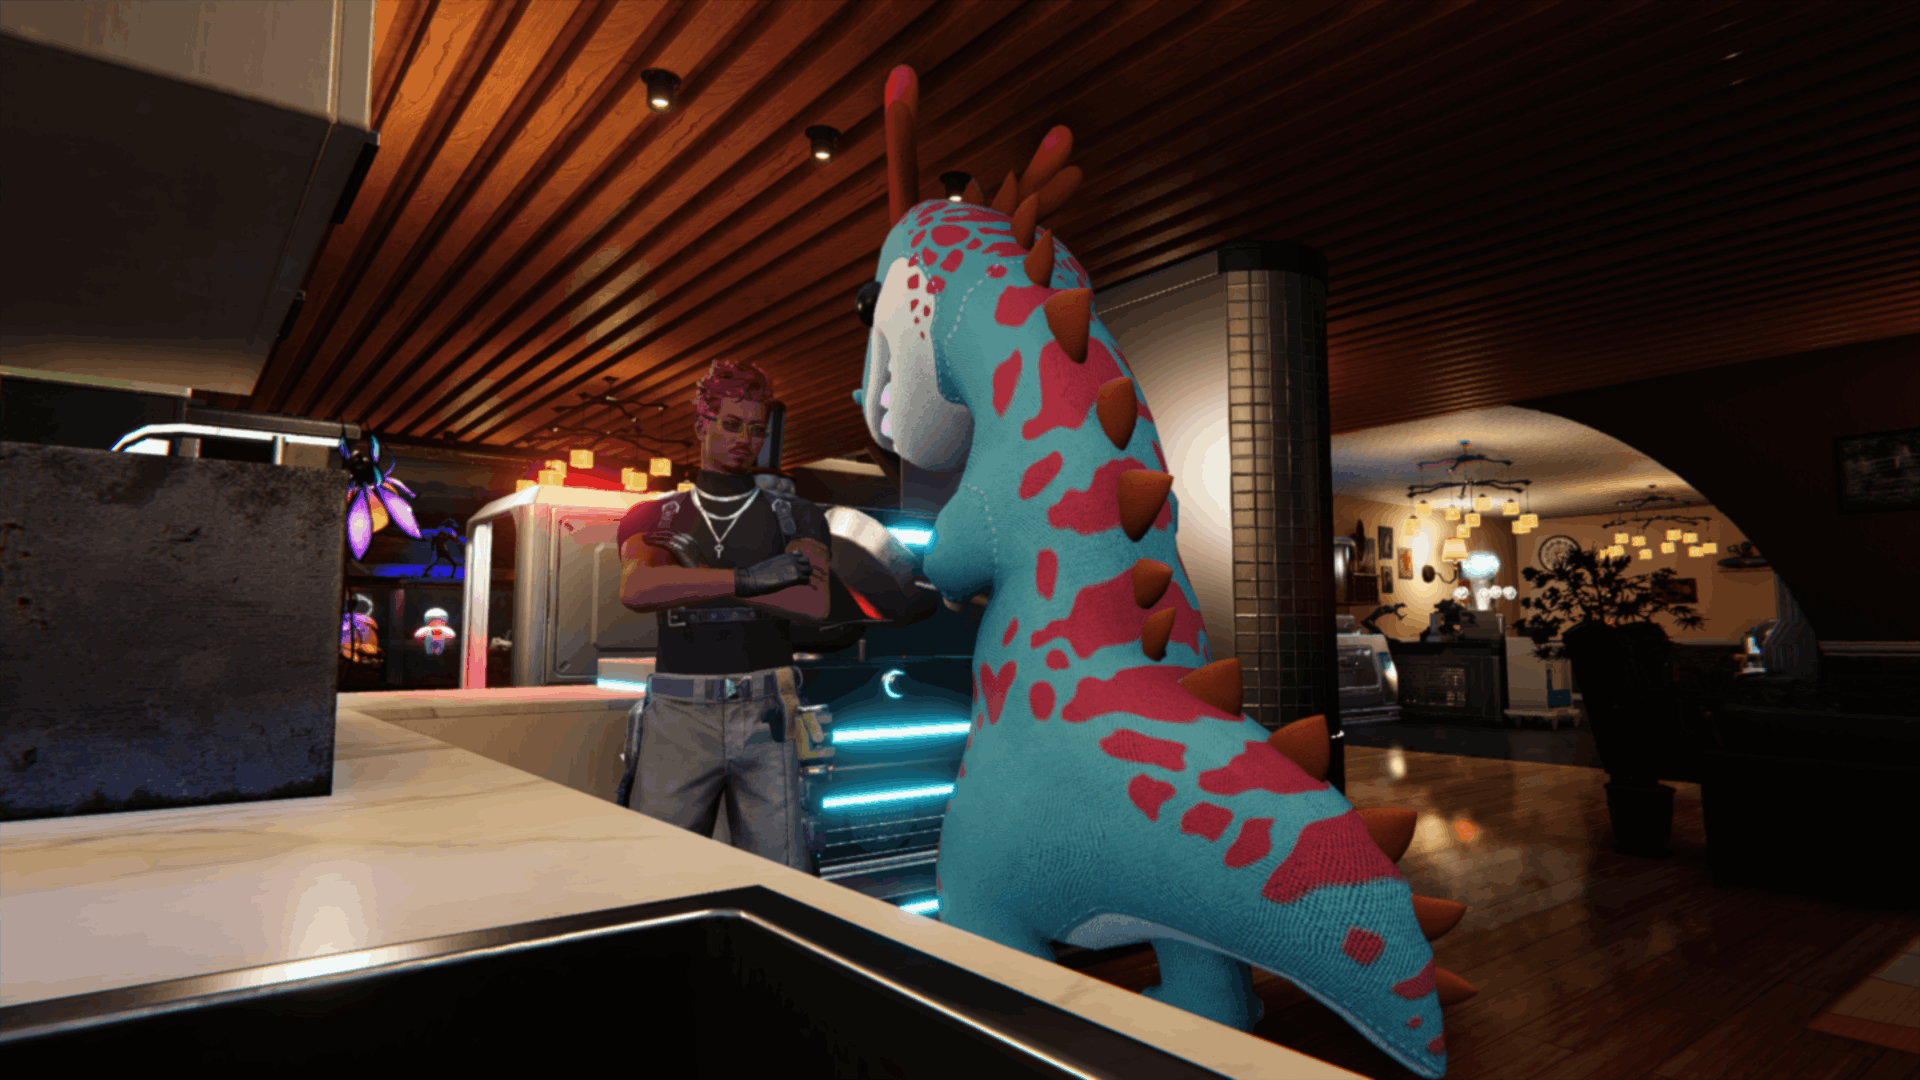
While not strictly necessary, food and drink buffs are an easy, low-maintenance way to boost your DPS even higher. This build performs well even without them, but that extra damage can be useful when tackling endgame content like Nightmare Silos or the LEA Research Lab. I’d generally recommend Popcorn for the base 10% bonus to Unstable Bomber damage, and Whimsical Drink for the 25% increased status damage.
What makes this loadout click isn’t any single piece; it’s that every mechanic feeds the one after it in a closed loop. That kind of synergy is what makes build-crafting in Once Human so engaging. If you’d like to optimize your DPS as best you can, check out my guide on fusing deviations to learn how to craft a perfect Voodoo Doll to complement this build! We encourage you to comment if you have any further questions about the contents of this build, or if you have any tweaks to suggest. Be sure to keep an eye on GameObserver for more Once Human guides and news in the future!






 ObserverCrew Picks
 bserver
 bserver